Free delivery on purchases over €110 (for France only).
LE Hack de LA Blouse
Hack, did you say Hack? A warm welcome to Marie from @FilEnScene! She’s now on the stage of our Sewing Pattern Collections and ready to reinvent one of our patterns.. Slip on your sunglasses, the Hack by Marie is dazzling! Discover the transformation of LA Blouse into a beautiful flowing dress! Follow us and we will tell you everything!
GUEST OF THE MONTH
Our accomplice
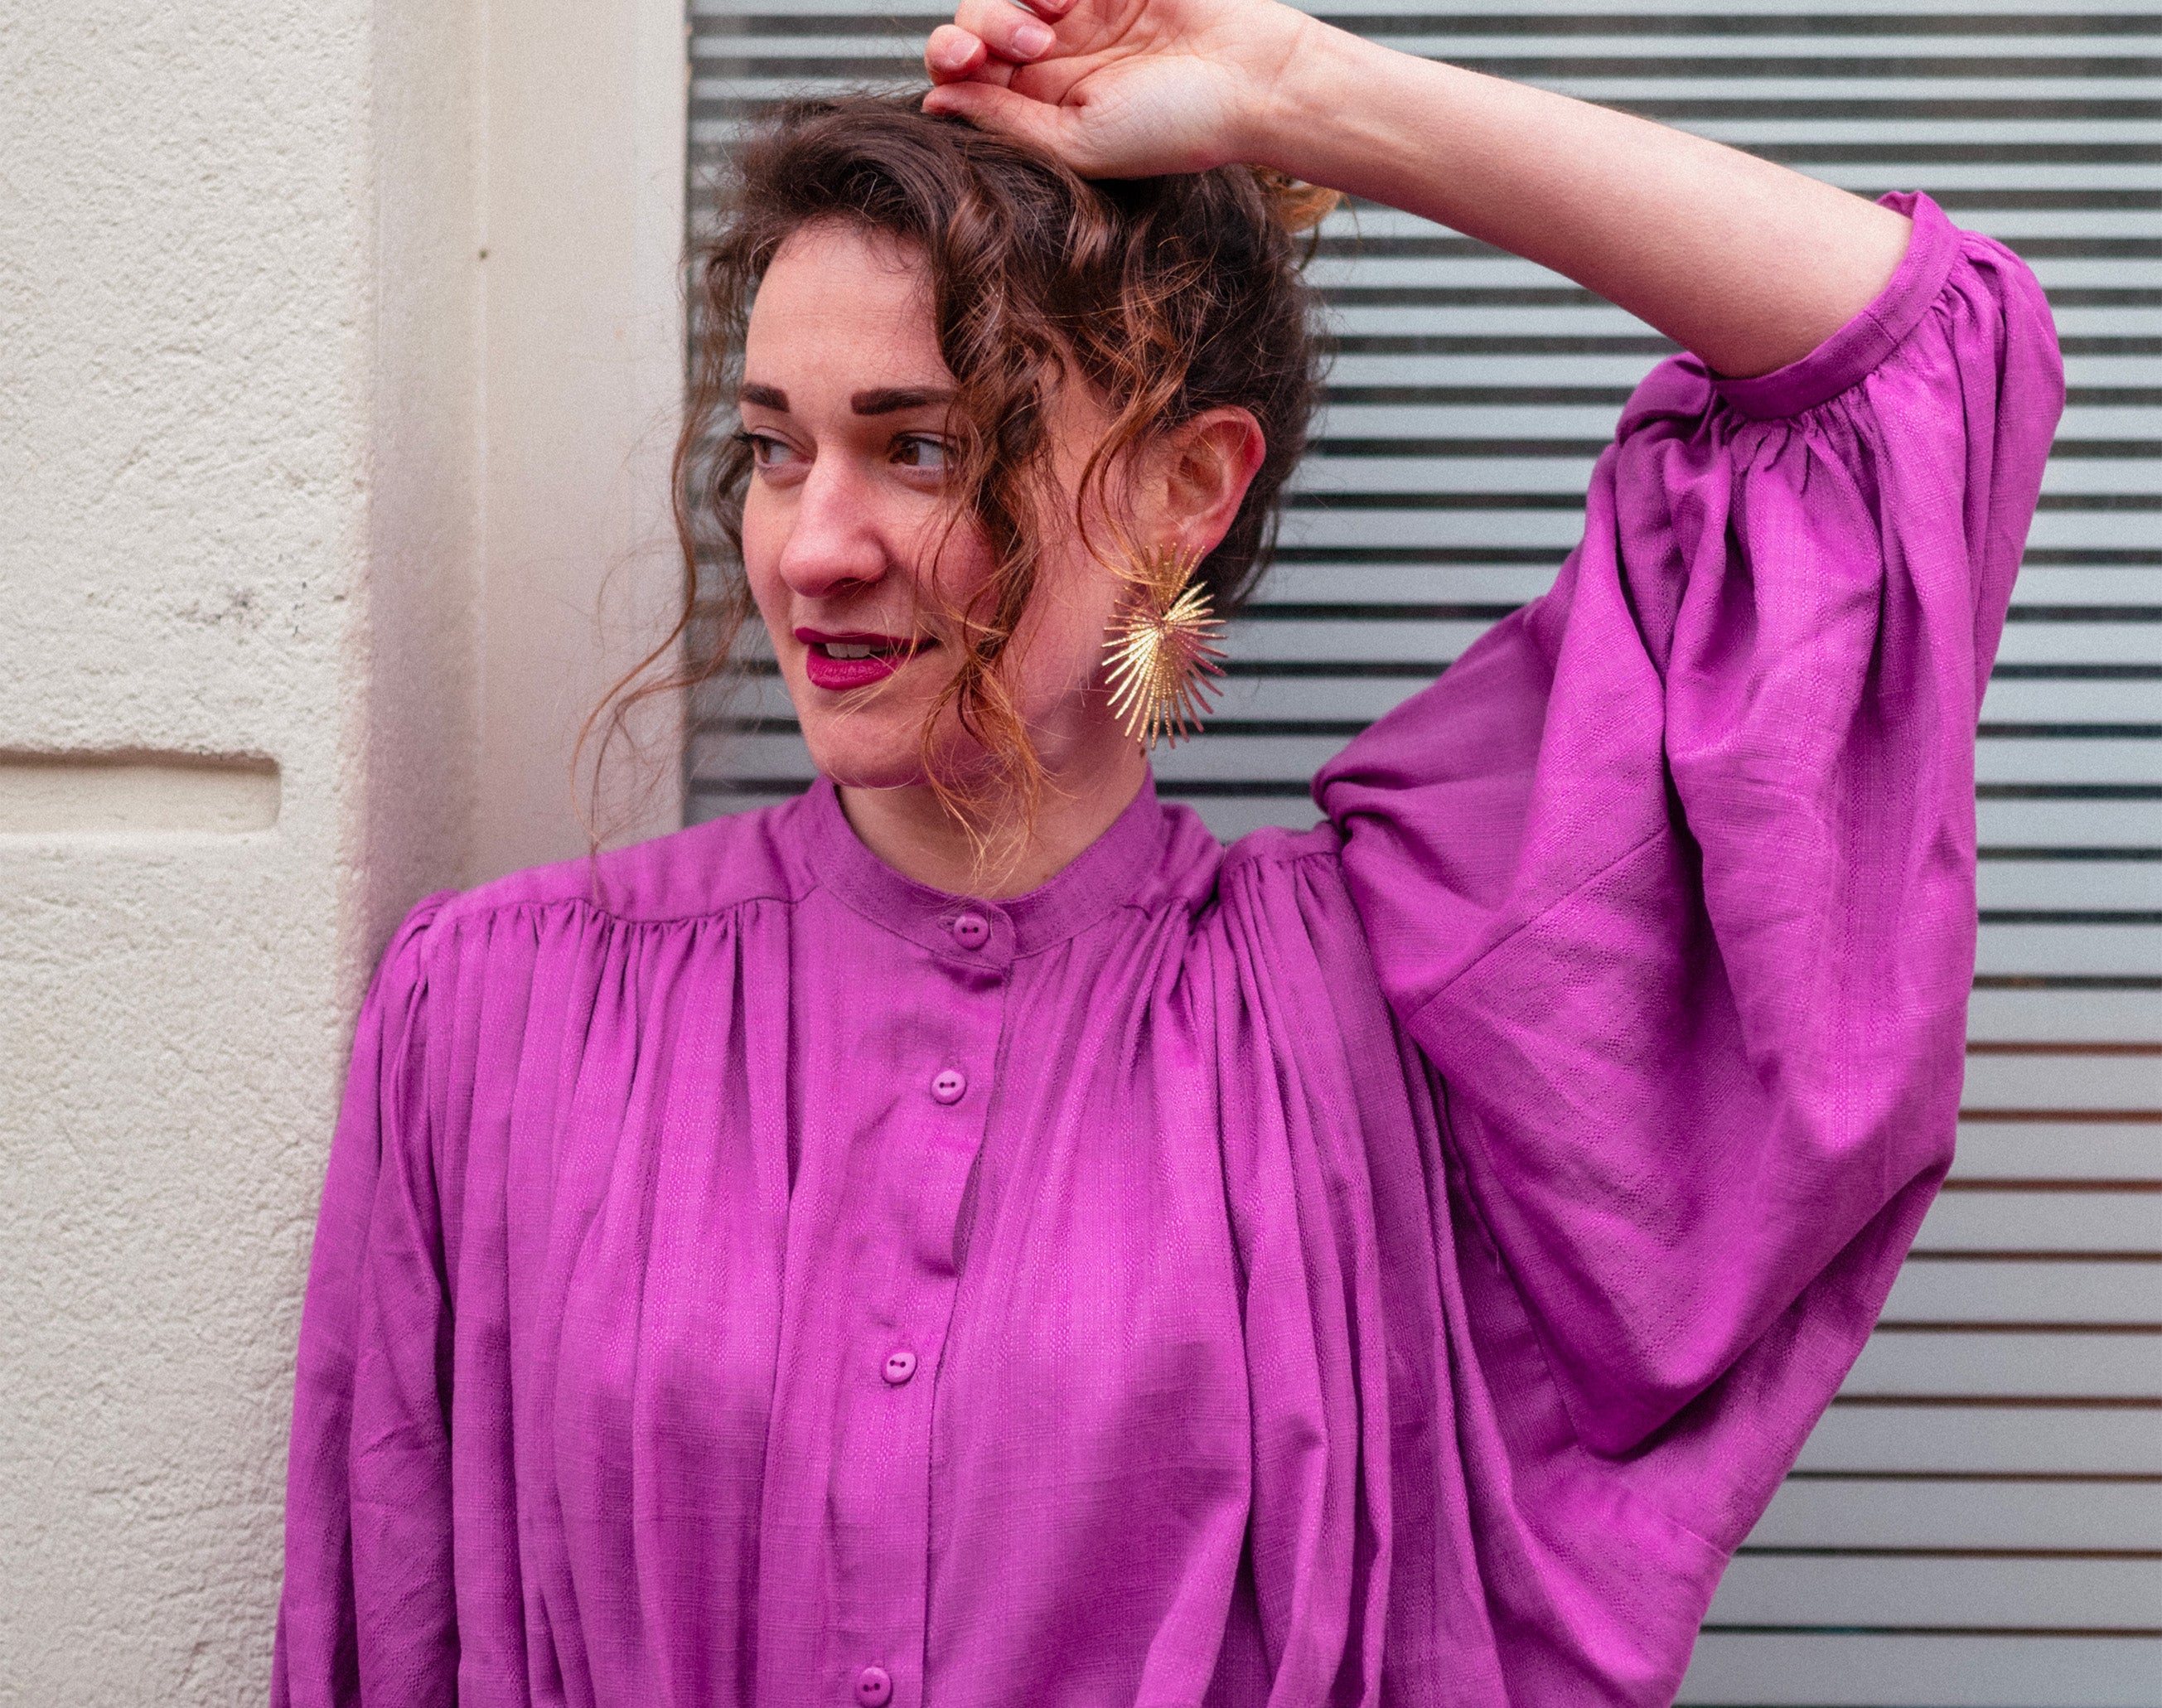
Marie from the Instagram account @FilEnScene, overflowing with creativity, energy and as bubbly as she is captivating, is in charge of the project we entrusted to her (with our eyes closed).
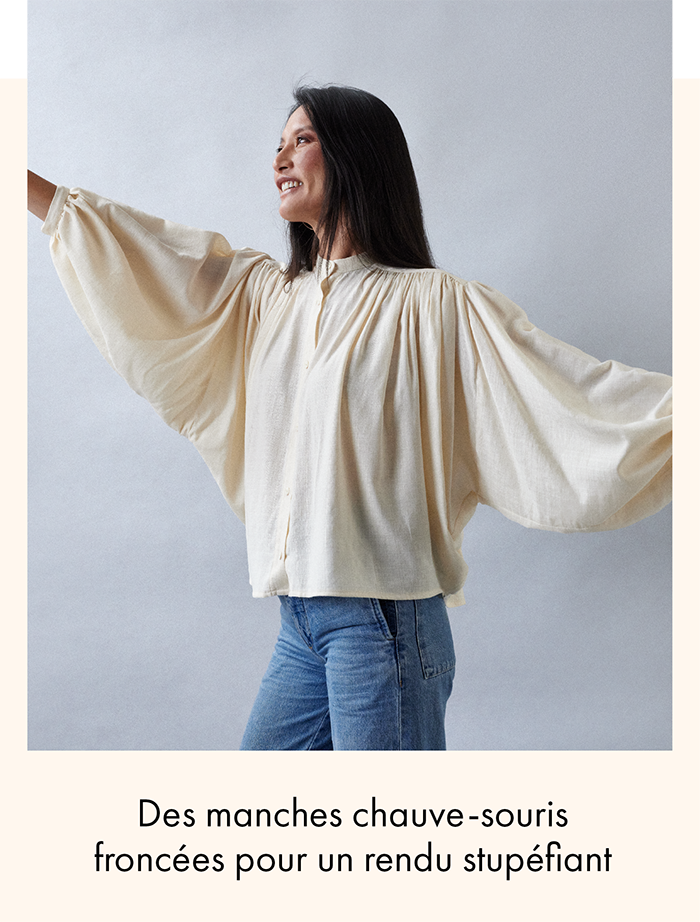
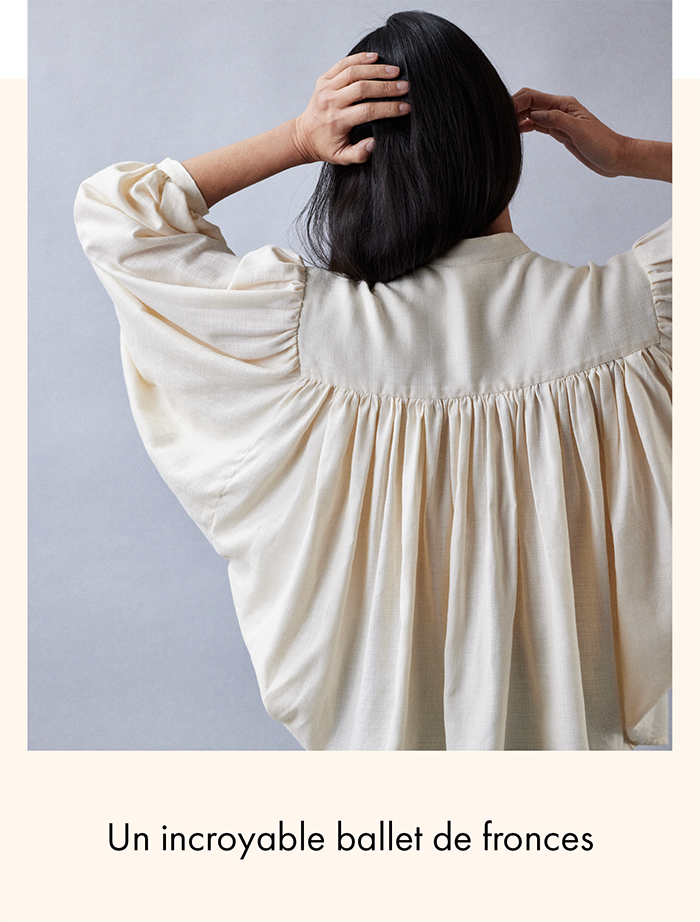
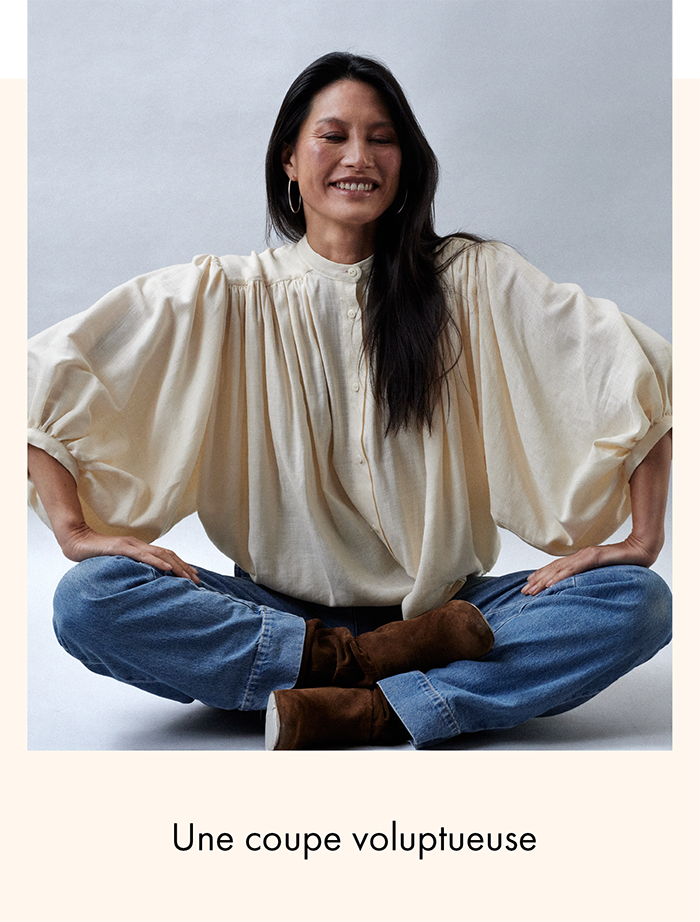
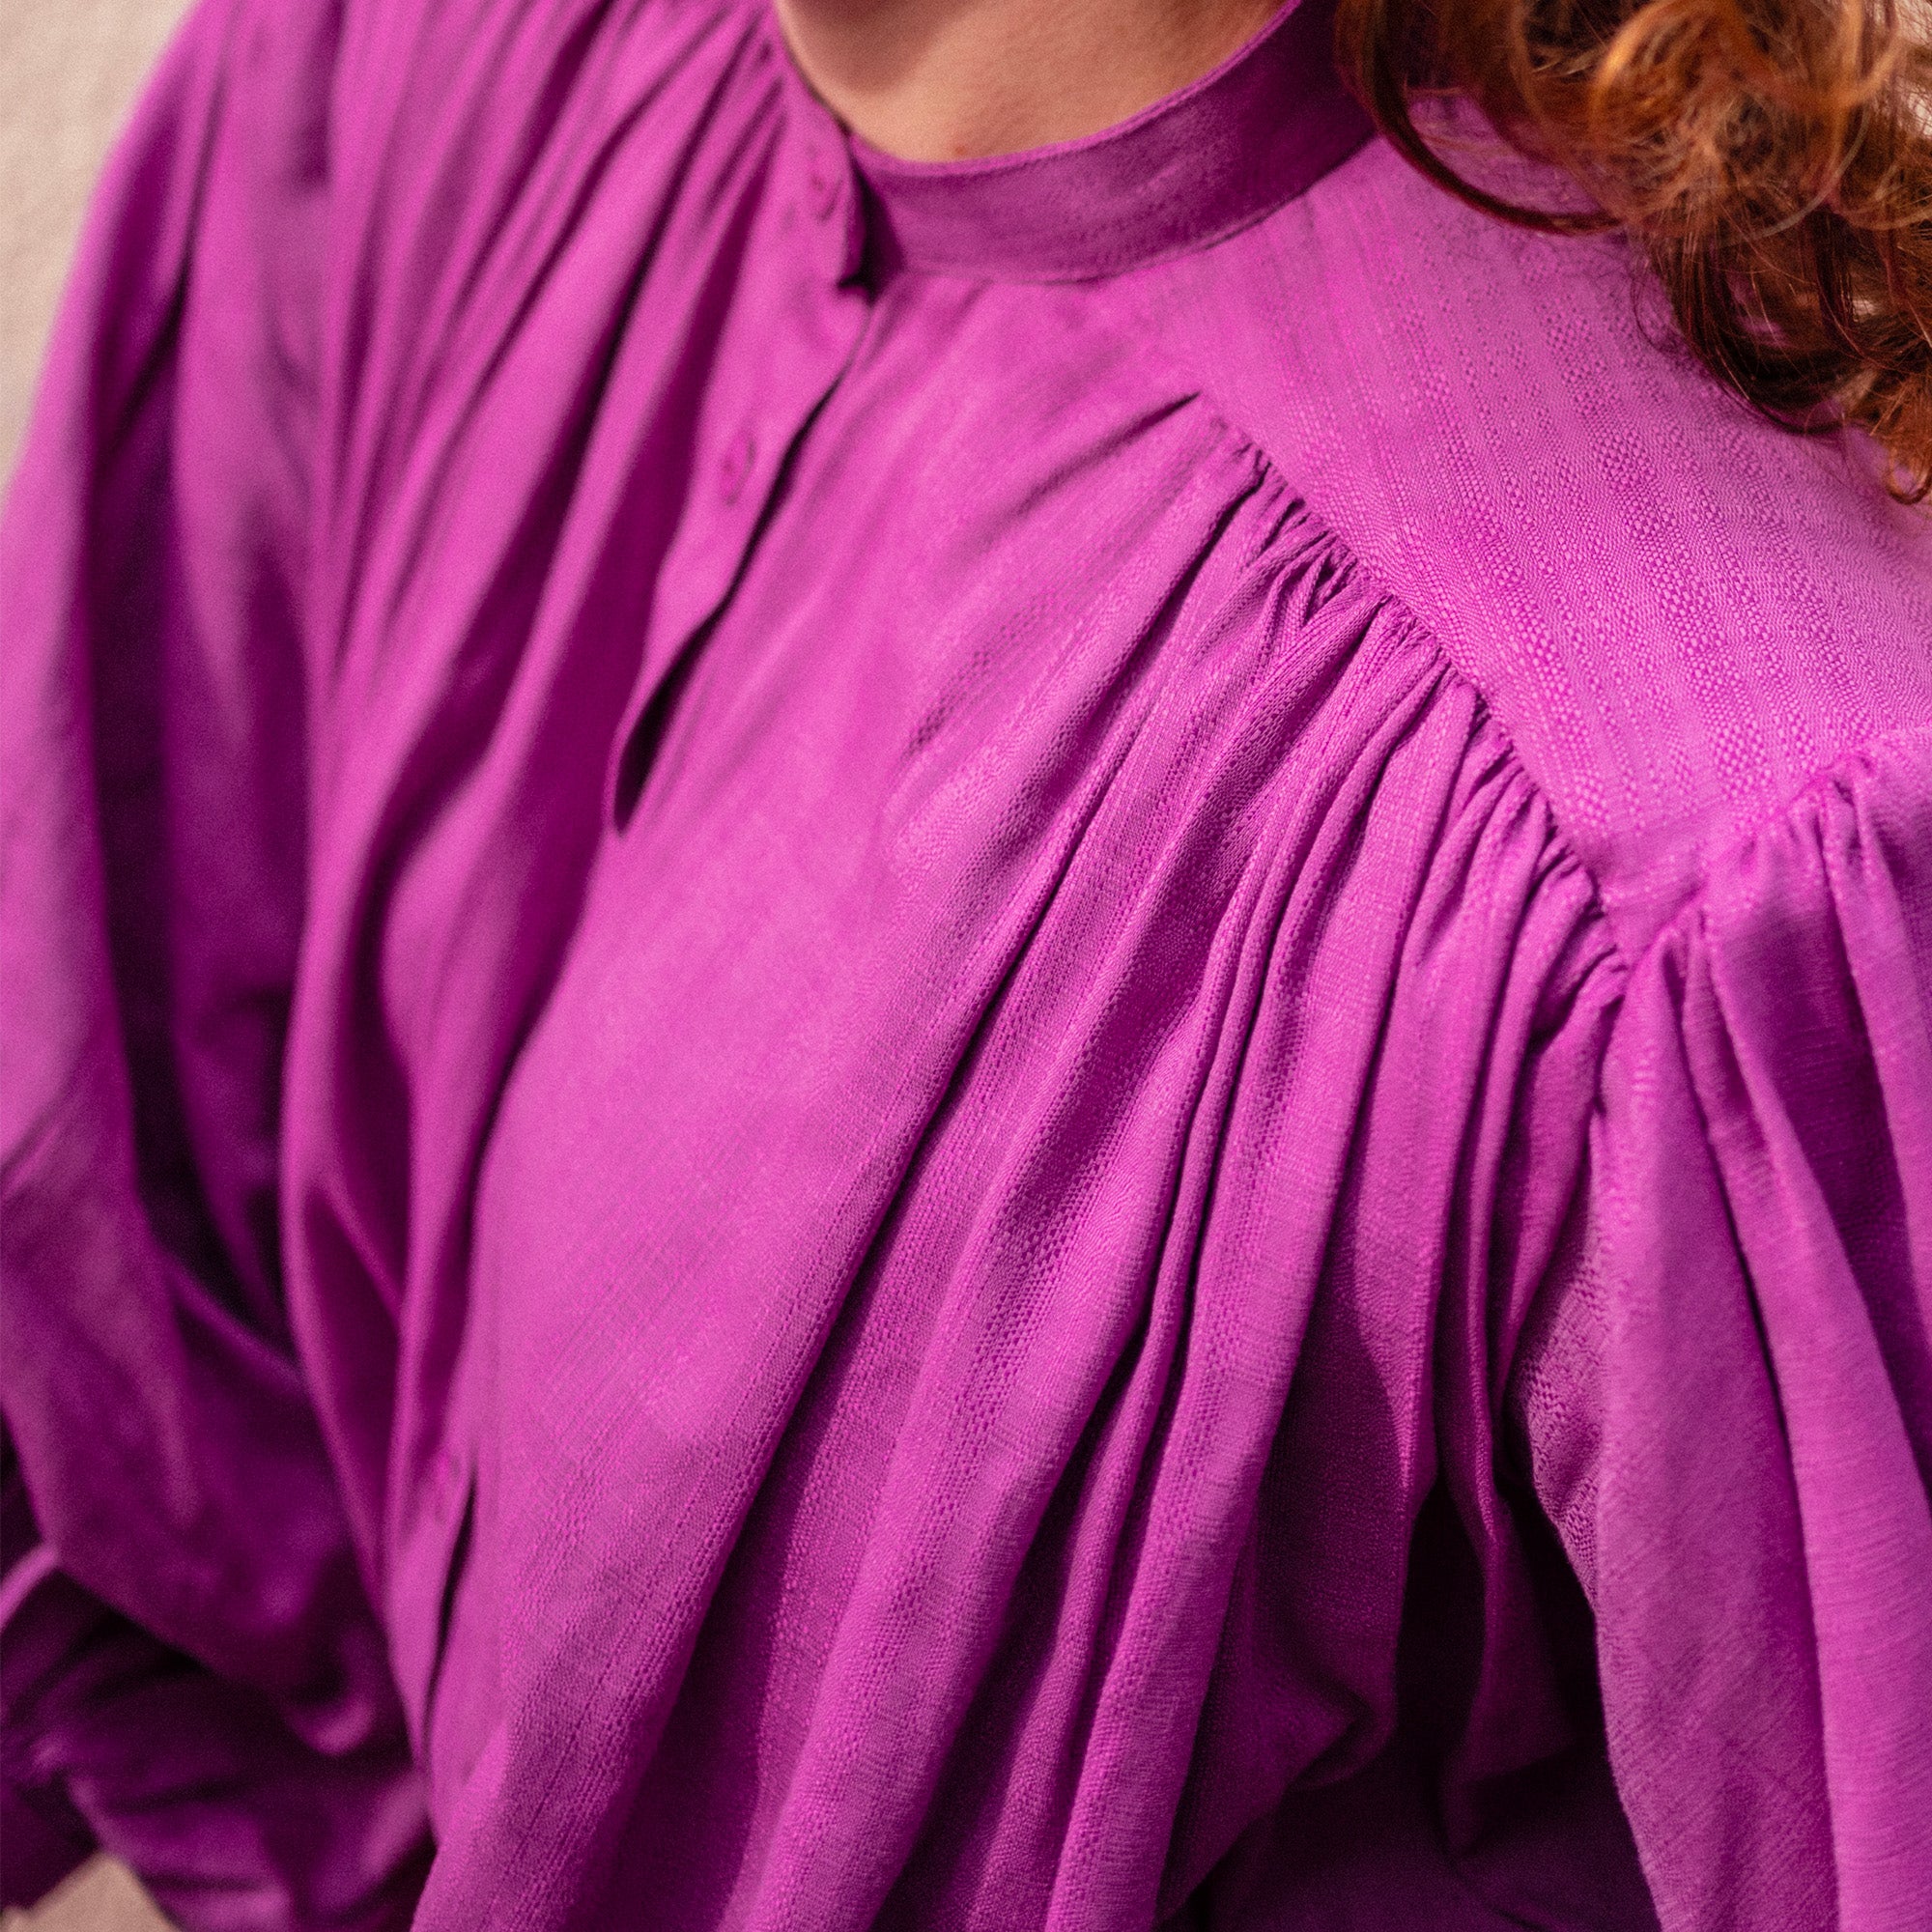
WHAT ARE THE CHARMS OF THE BLOUSE
From 34 to 48

A strong character who plays with gathers, volume and plays with romantic style with a touch of modernity.
THE COMPONENTS
Marie's style tips
MARIE is 1m66 tall and sewed THE Blouse in size XS.
Wear with a belt for a retro chic and romantic effect.
Wear without a belt, super loose, with sneakers for a contemporary urban effect.


SUPPLIES LIST
- For a blouse in size XS
- lengthened by 70cm in a very long dress
- you need to count 3m30 of fabric on a width of 140cm.
- For a blouse in size XS
- lengthened by 50cm in a mid-length dress
- you need to count 3m10 of fabric on a width of 140cm.
MATERIAL ADVICE
The Flake is a clever blend of cotton and viscose that gives it this light and airy look.
Be careful, the fabric frays quickly! You must overlock the pieces beforehand.
HER FAVORITE FABRIC
A clever blend of cotton and viscose that gives it this airy and luminous look.
A crisscrossing of materials that creates this textured effect and reflects the light.
It's superb! Be careful, the fabric frays quickly!
You must overlock the pieces beforehand, especially for the model of THE Blouse which requires gathering over long lengths.
STEP BY STEP
This hack is very accessible, you will need to join two points with a parrot ruler to create a new curve.
And extend it to the length you want! You will need to slightly transform pieces 1, 3 and 7.
For sewing, only steps 5 and 7 of 9 require a little adaptation.
TO MODIFY
Slight transformation of pattern pieces 1, 3 and 7
/ 1 /
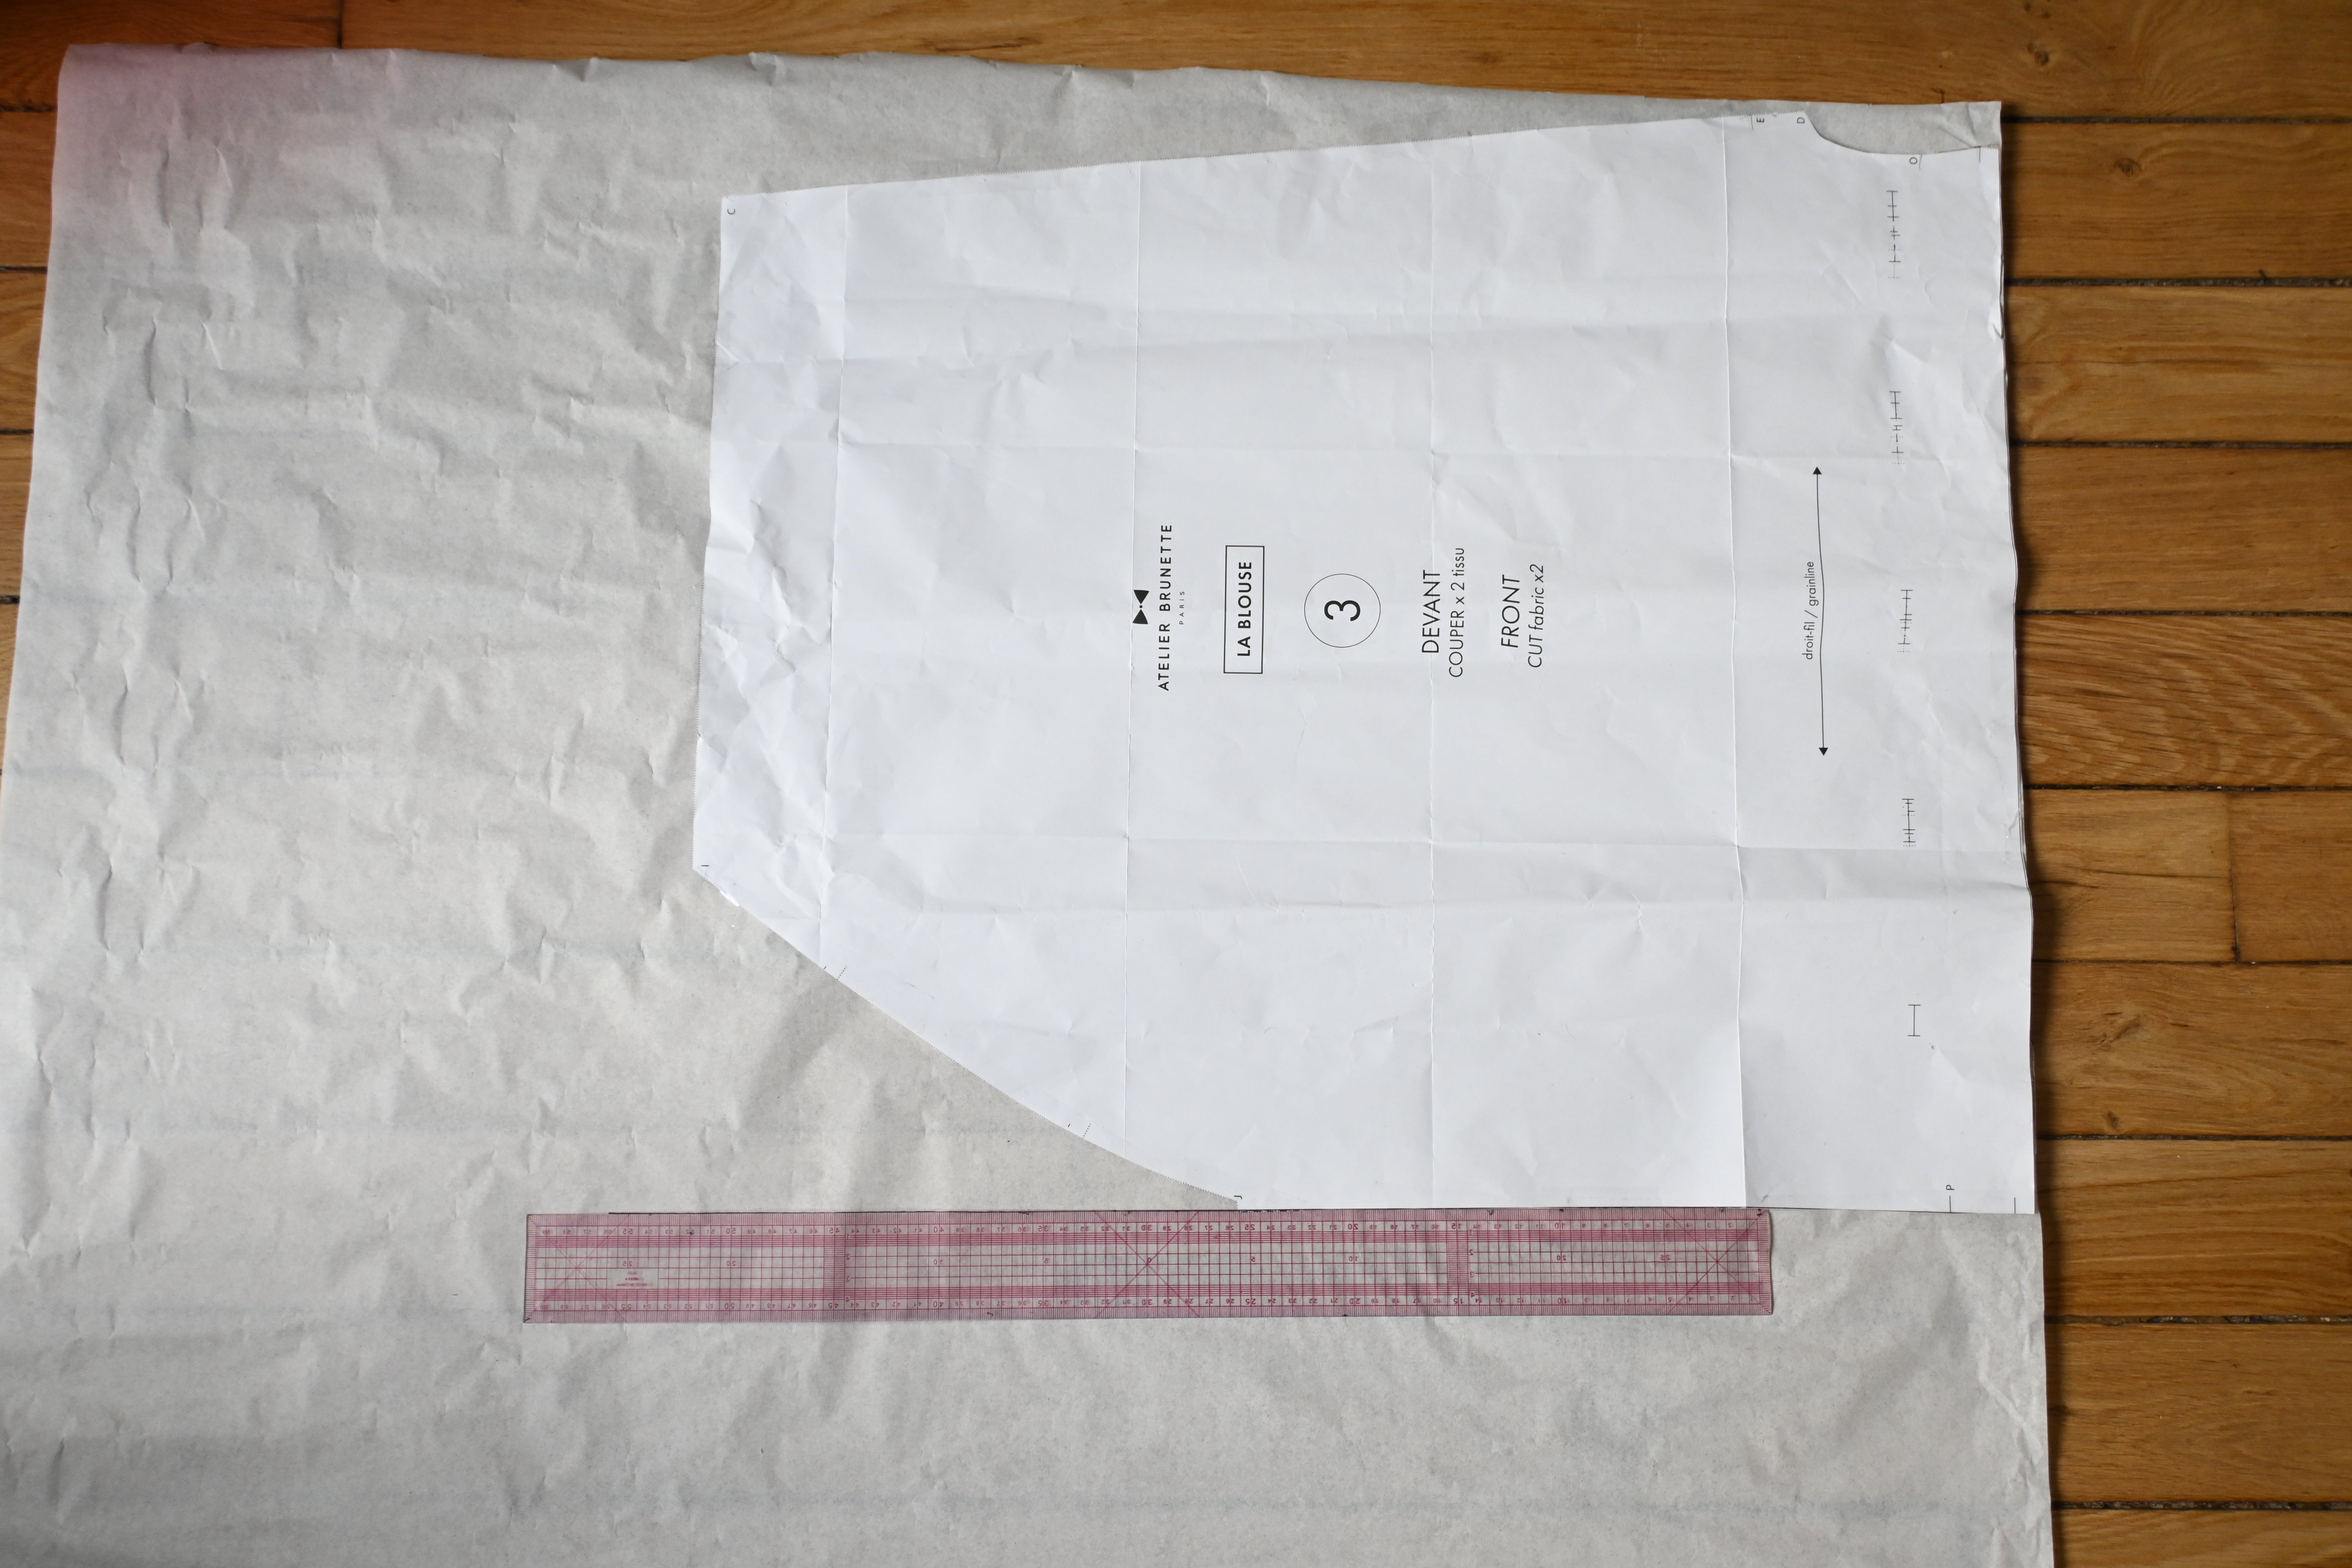
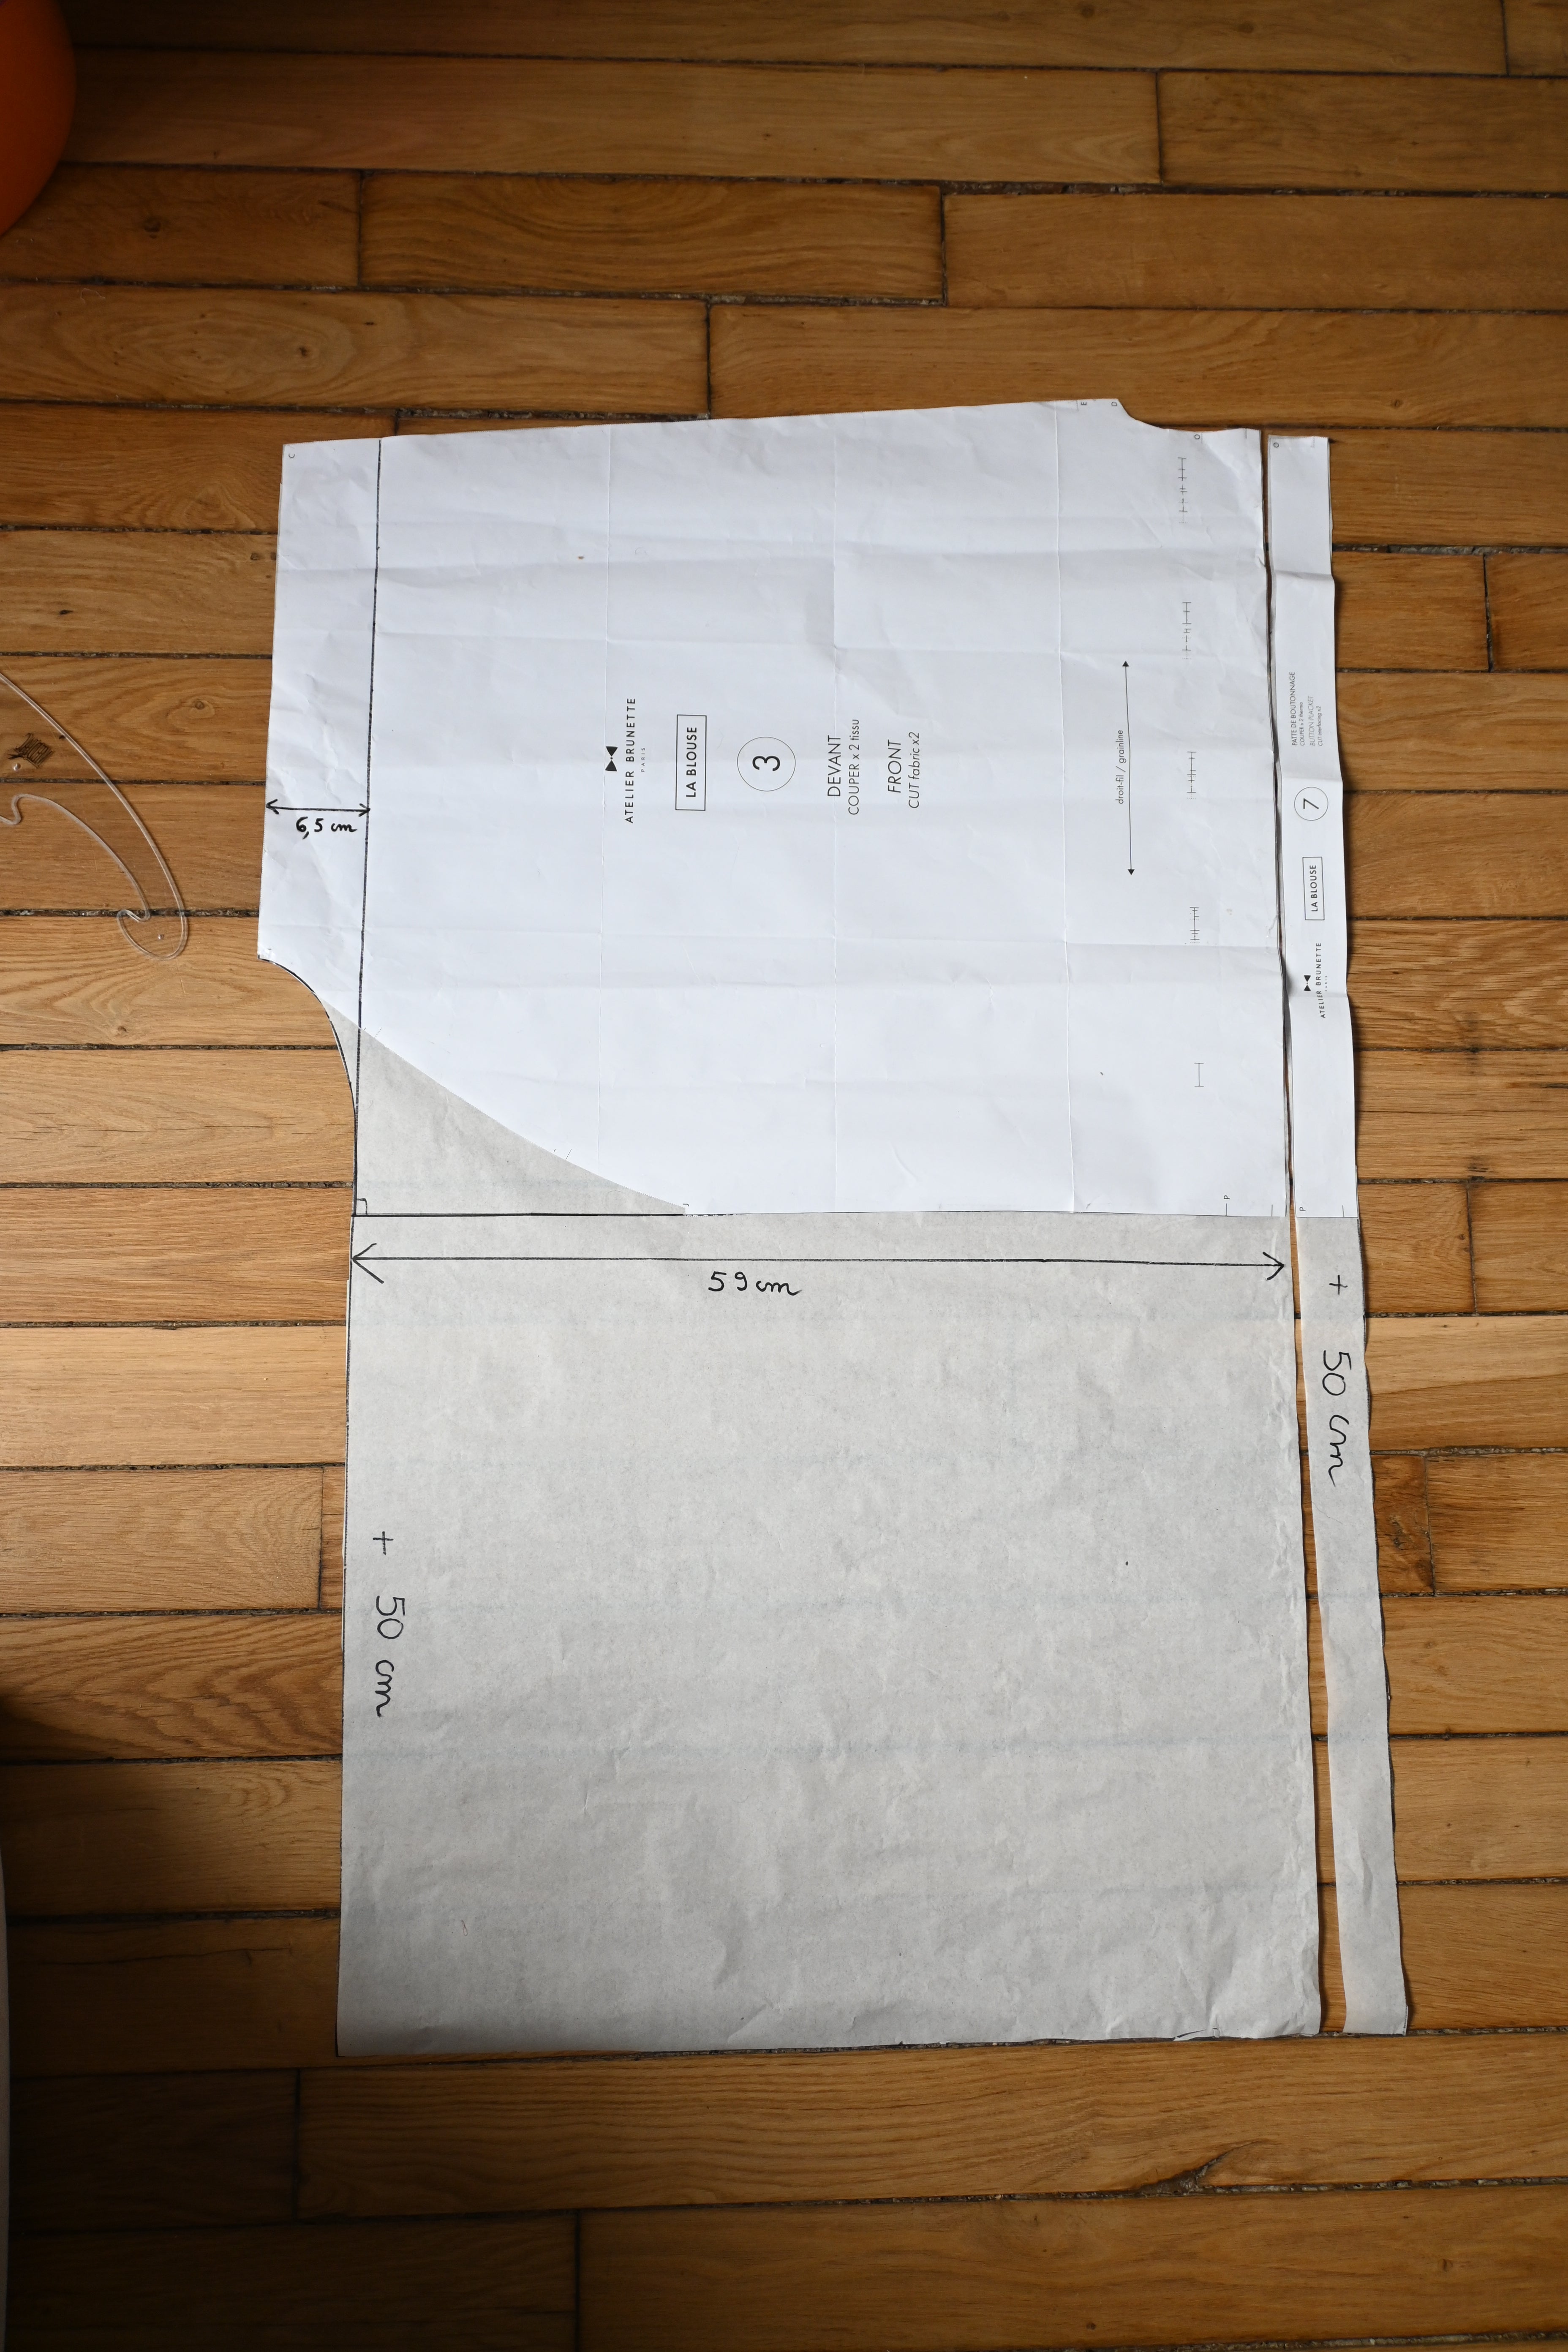
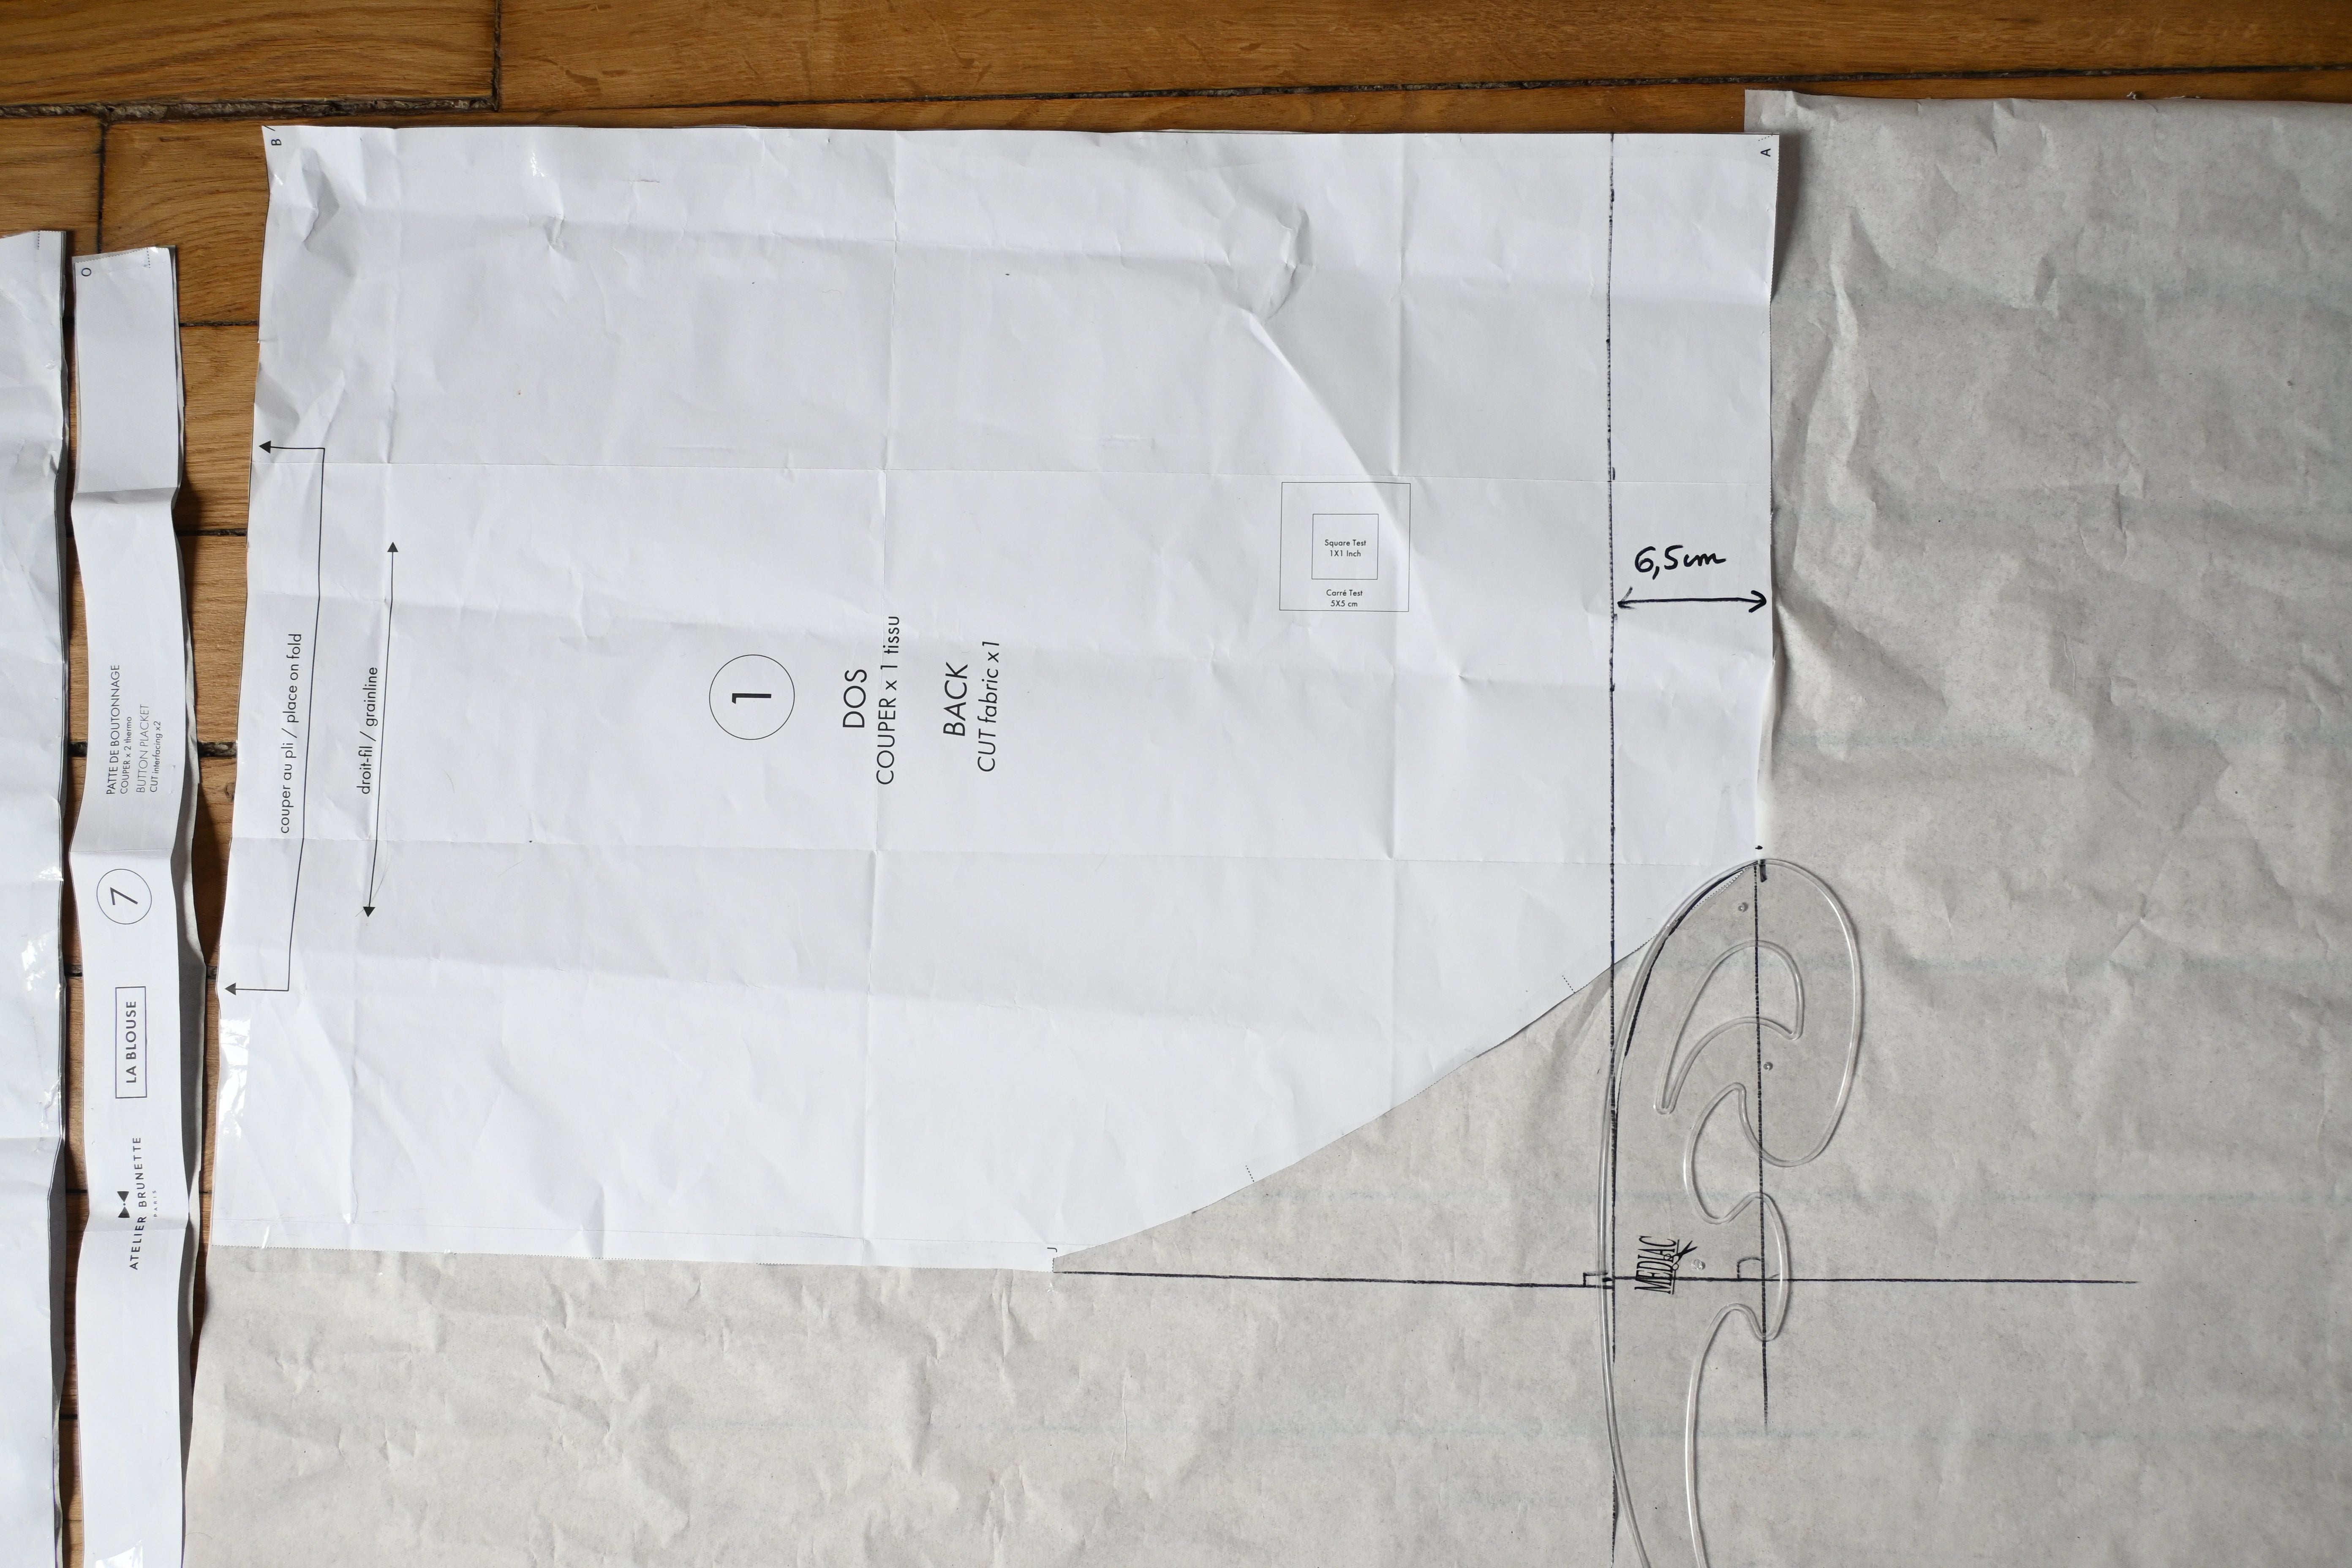
Part 1: the back.
First, cut out piece 1 in the chosen size.
Attach piece 1 to pattern paper.
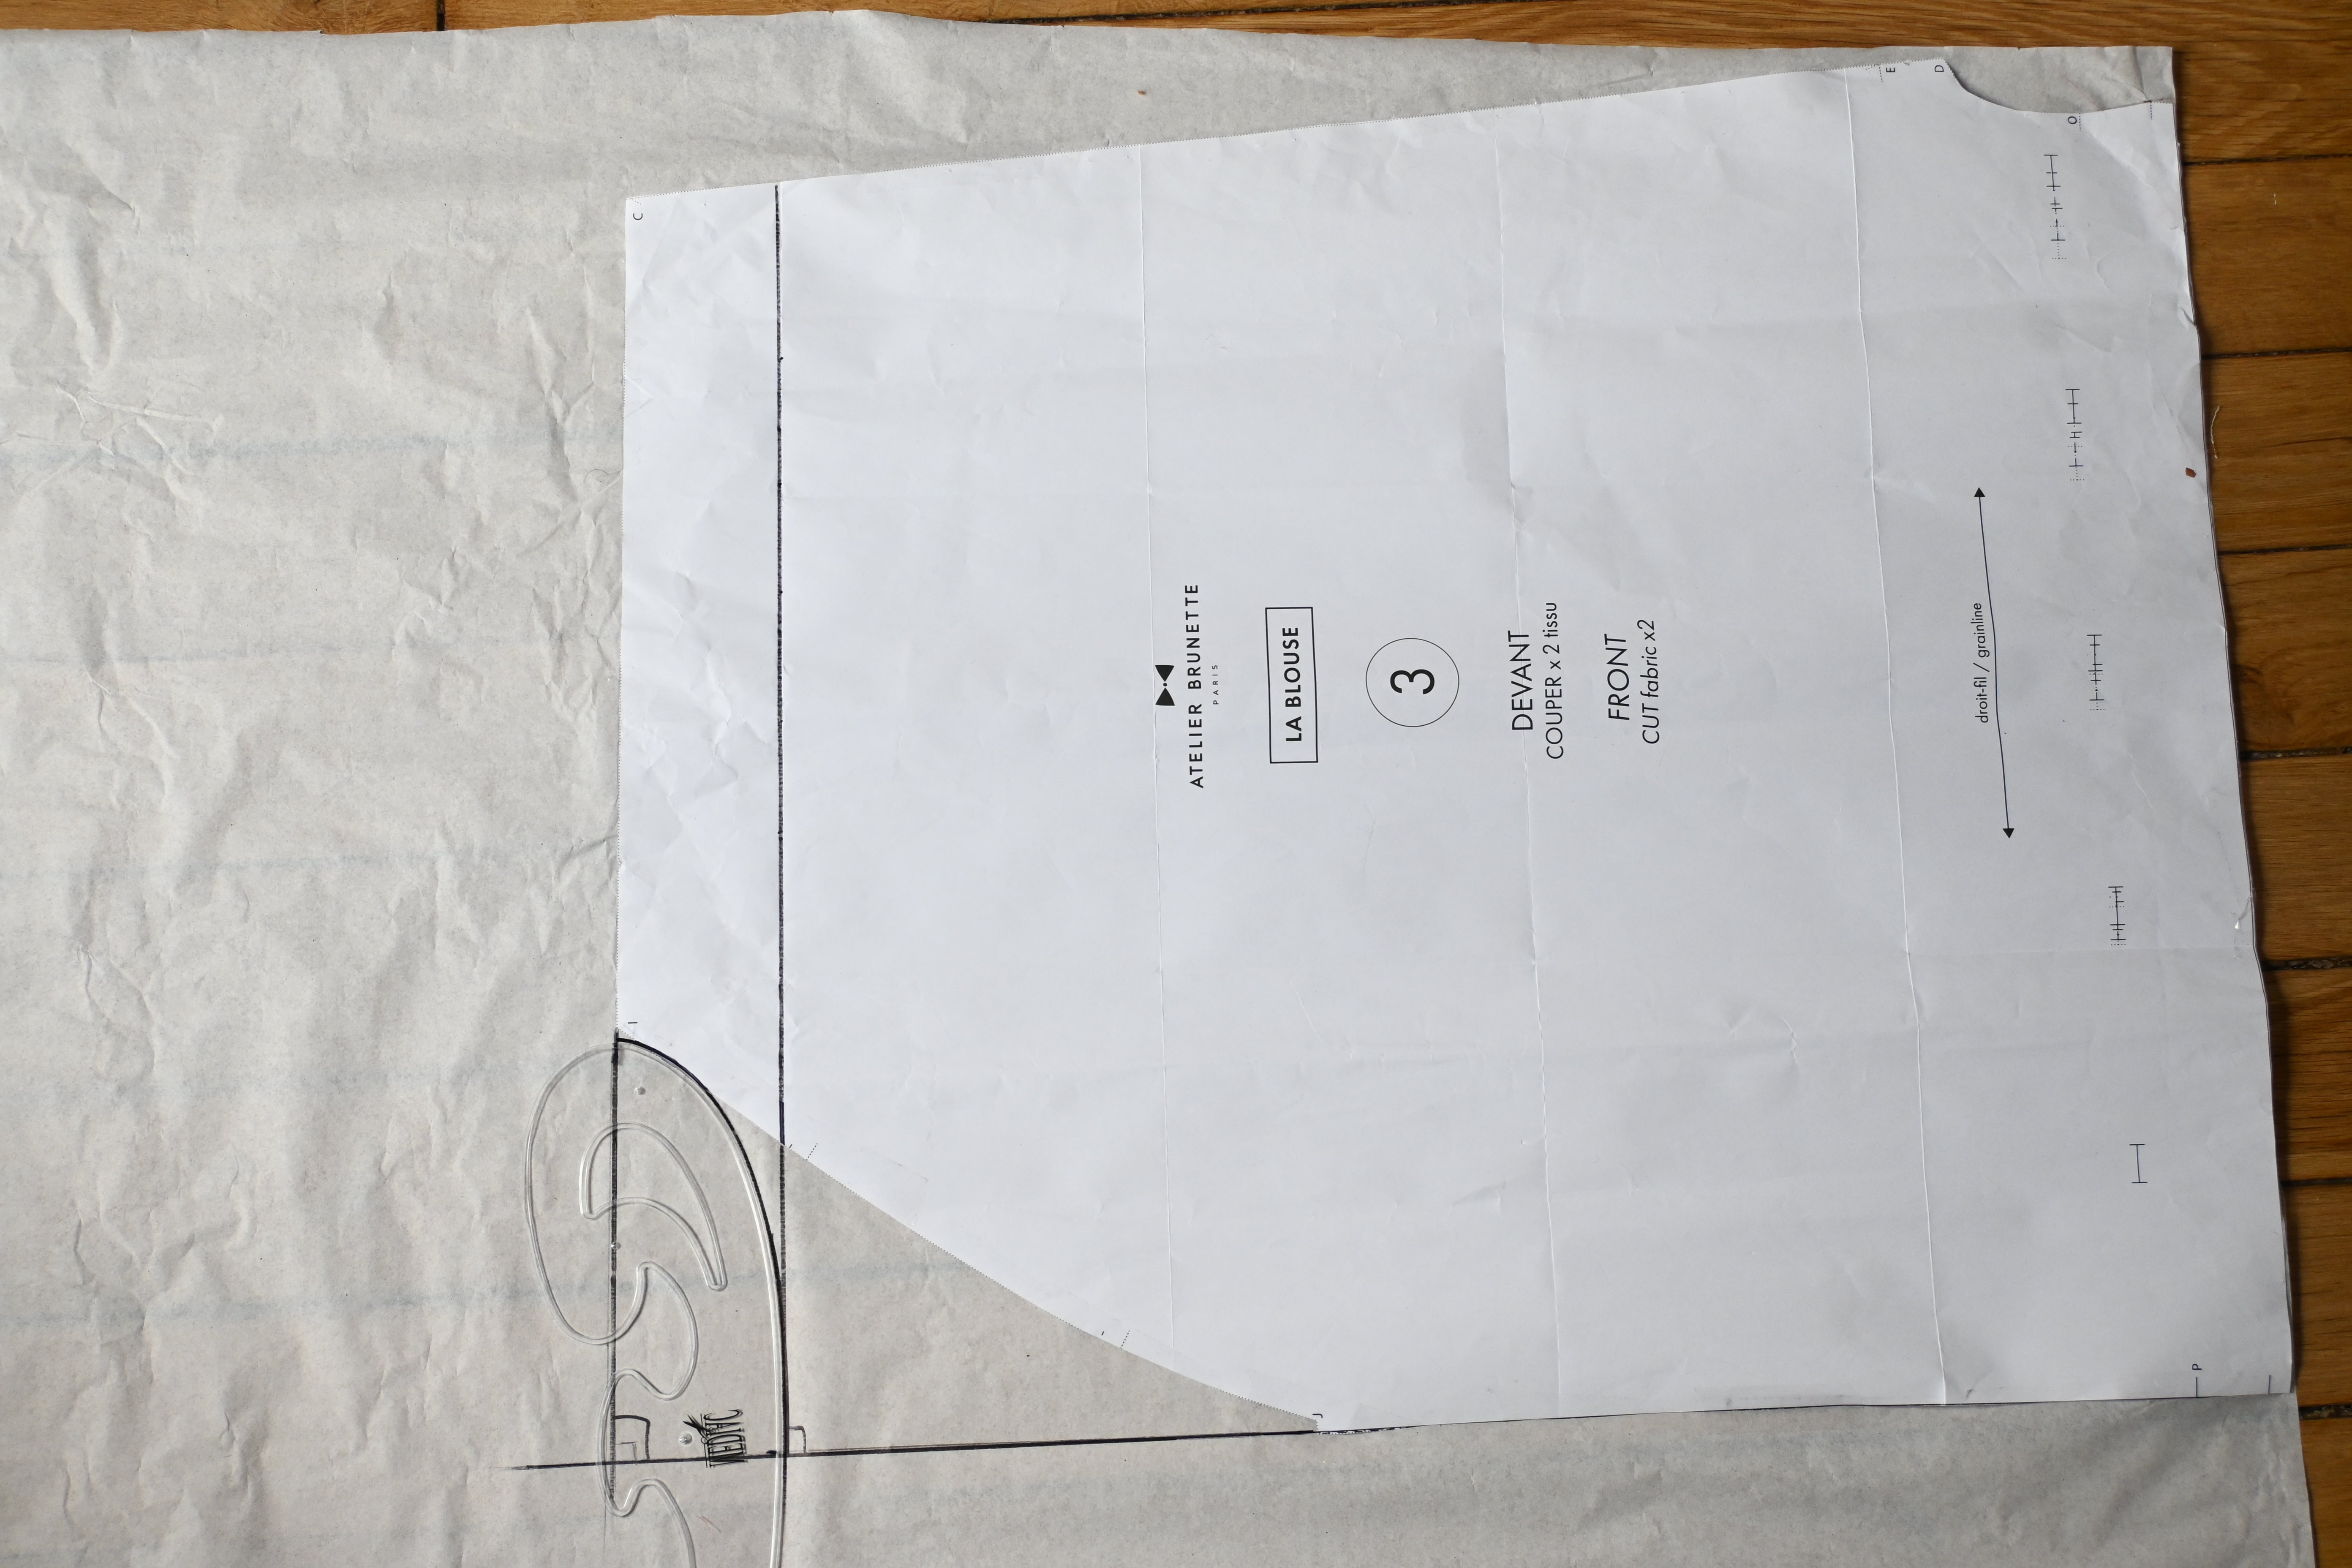
Using a large ruler, extend the horizontal line at the bottom of the blouse and the vertical line at the bottom of the sleeve.
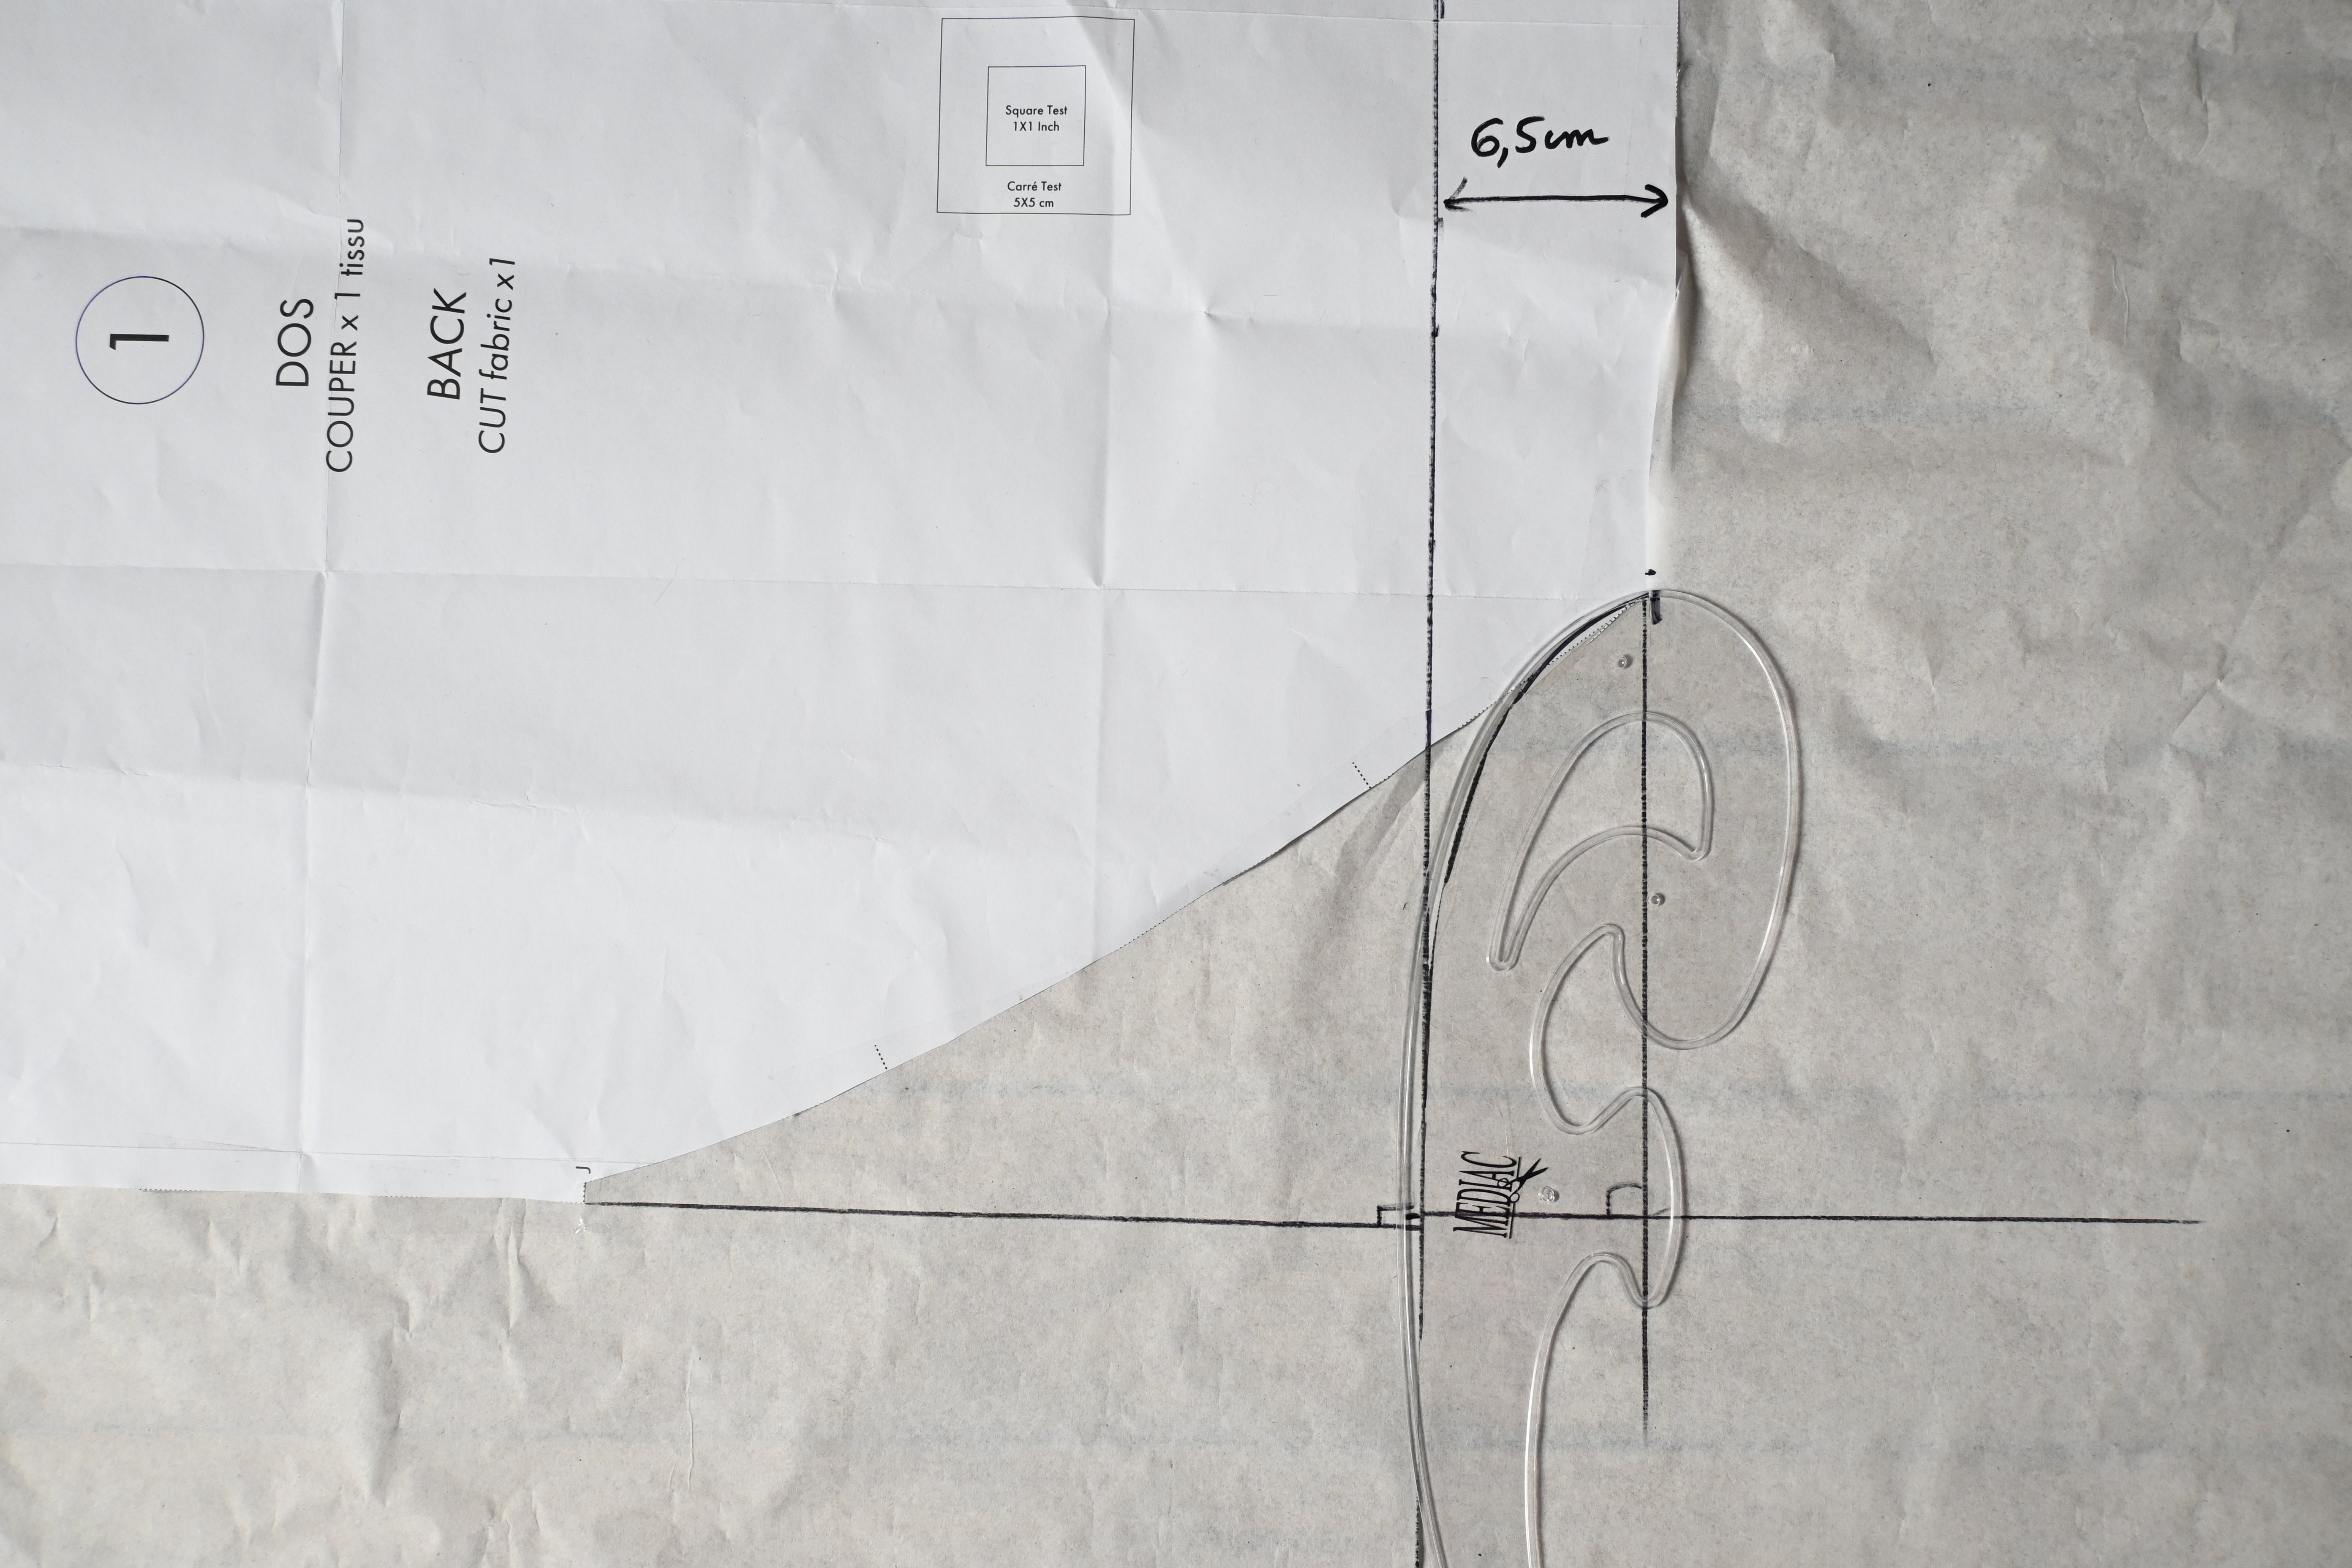
The intersection point forms a right angle.
TIP: Using an erasable marker, mark the start and end points of the curve on the ruler. This will allow you to recreate the same curve for the back piece.
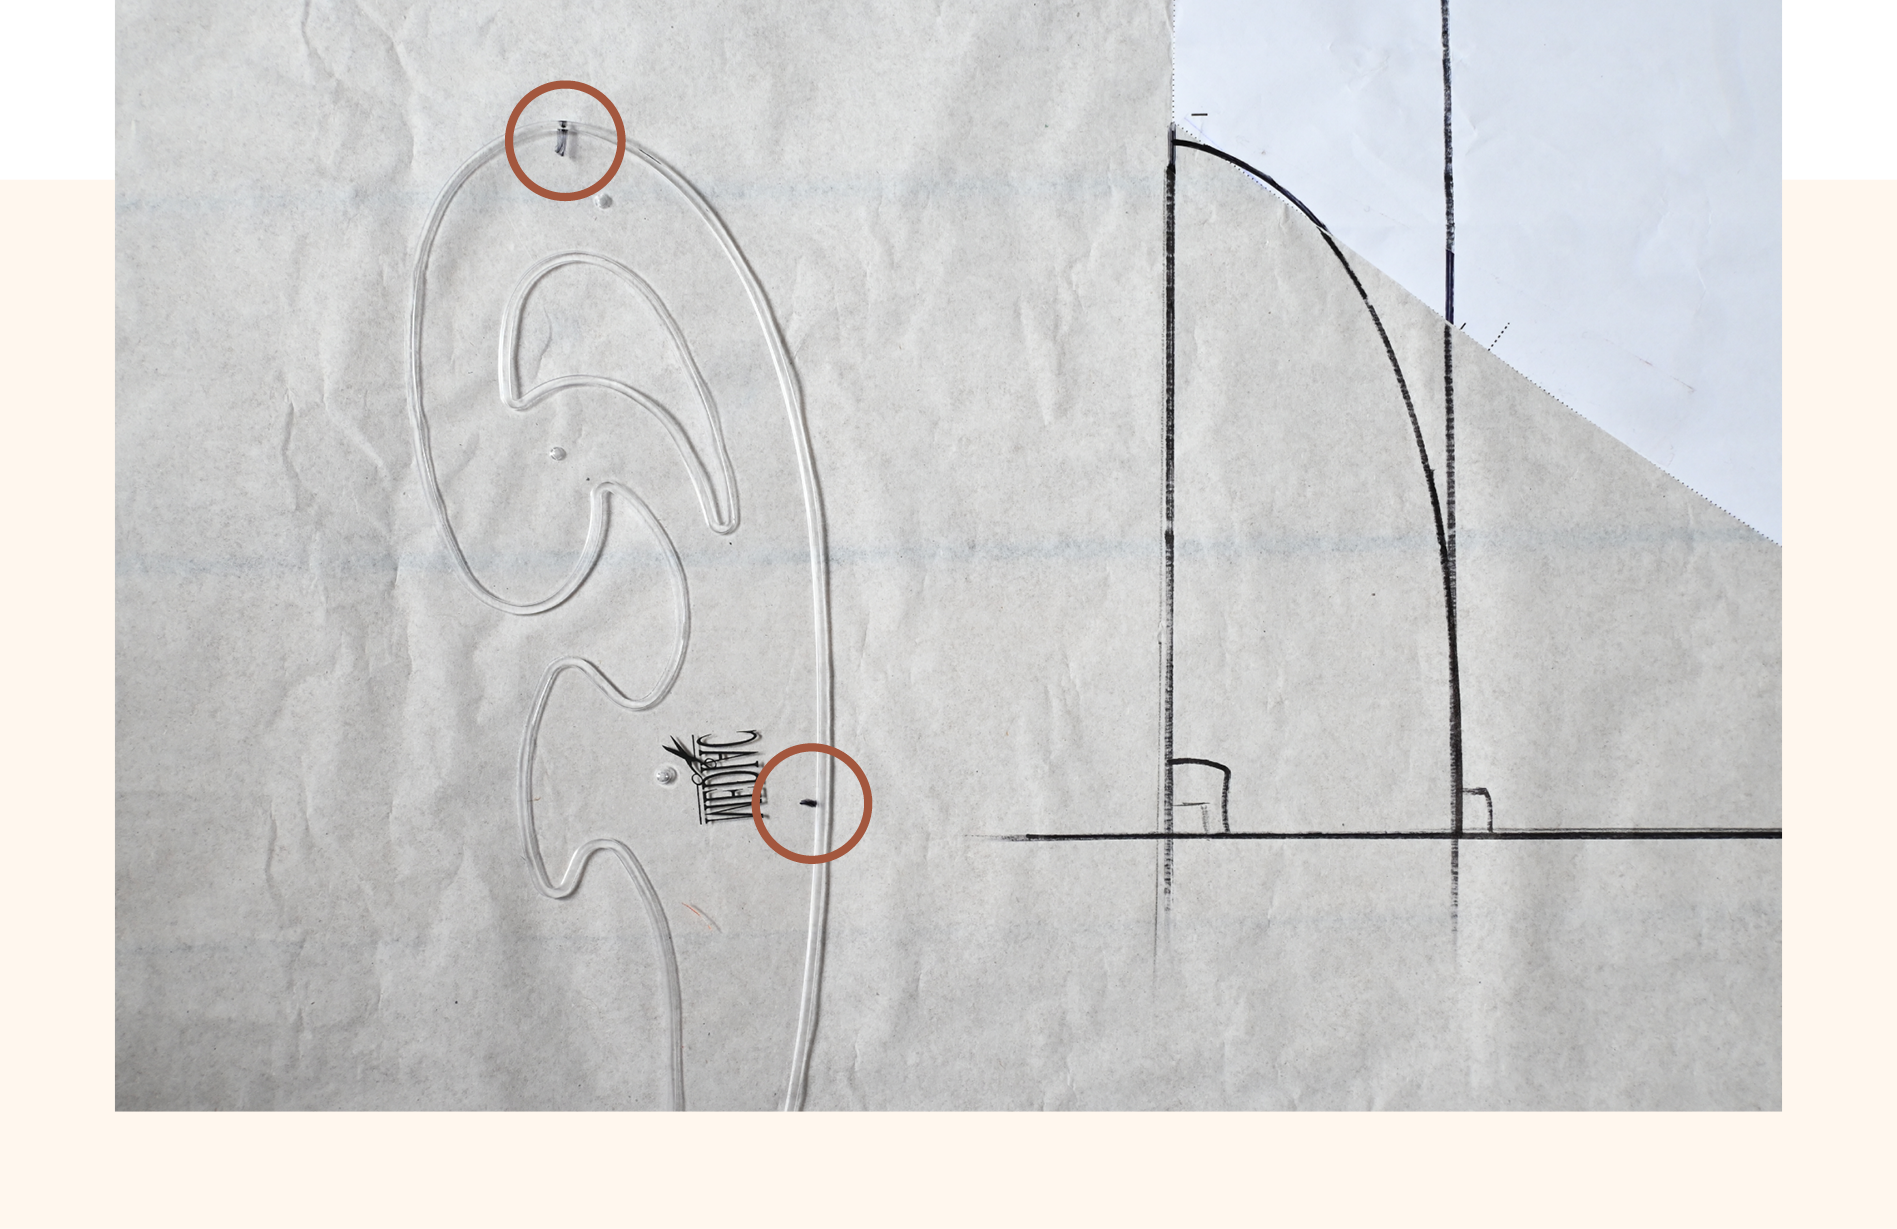
Draw a long, parallel line 6.5 cm back from the vertical line at the bottom of the sleeve.
This line will intersect the horizontal line at the bottom of the blouse.
Mark the intersection point.
Place the curve of a parrot ruler so that the bottom corner of the bottom of the sleeve meets this intersection point.
Extend the vertical line 50 cm or 70 cm (depending on the length of the desired version) beyond the curve,
making sure to stay straight and parallel to the vertical line at the bottom of the sleeve.

/ 2 /
Part 7: button placket reinforcement
Extend the reinforcement 50cm beyond the curve for the mid-length version.
/ 3 /
Part 3: the front
Proceed in exactly the same way as for the back.
The reference marks left on the parrot ruler allow you to create the same curve.
SEW
Slight adaptation of steps 1, 5 and 7
/ 1 /
Preparation
Cut the iron-on backing from the button reinforcement extended by 50cm.
/ 2 /
The gathers
Follow as directed in the booklet.
/ 3 /
Yoke
Follow as directed in the booklet.
/ 4 /
Sleeves
Follow as directed in the booklet.
/ 5 /
Sides
Overcast the ribbing completely, ignoring marks K and J.
It was previously recommended to overcast them immediately after cutting if you choose Flake Bubble Gum.
Place the sides right sides together, matching the sleeve seams. Press the seams open.
/ 6 /
Sleeve bracelet
Follow as directed in the booklet.
/ 7 /
HEM AND BUTTON PLACKET
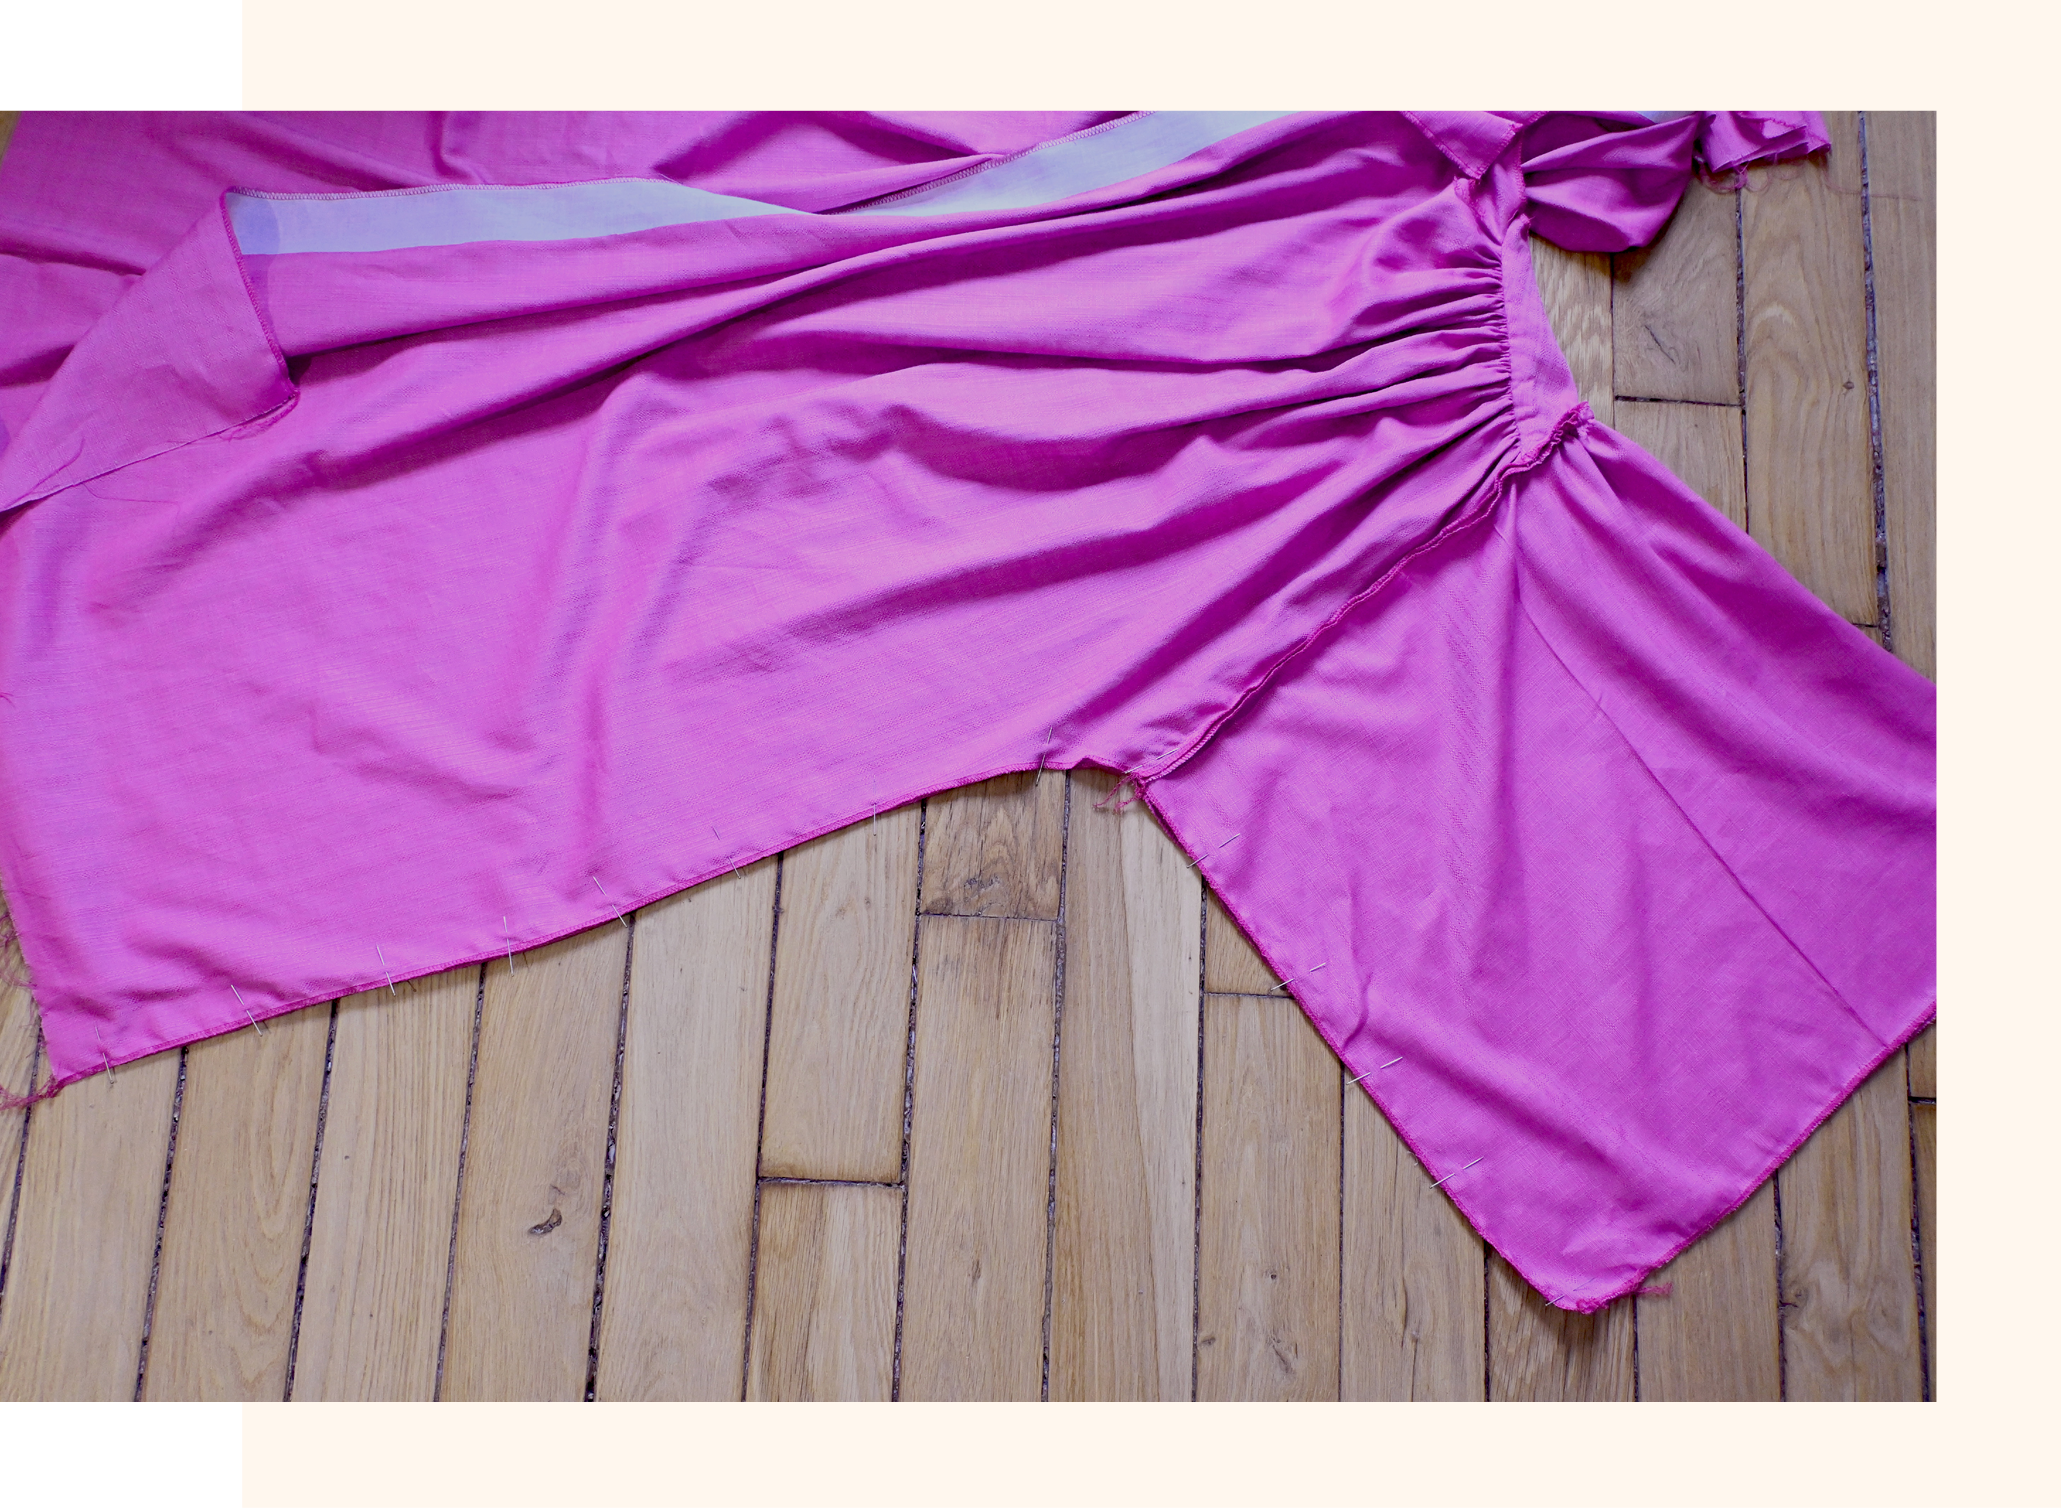
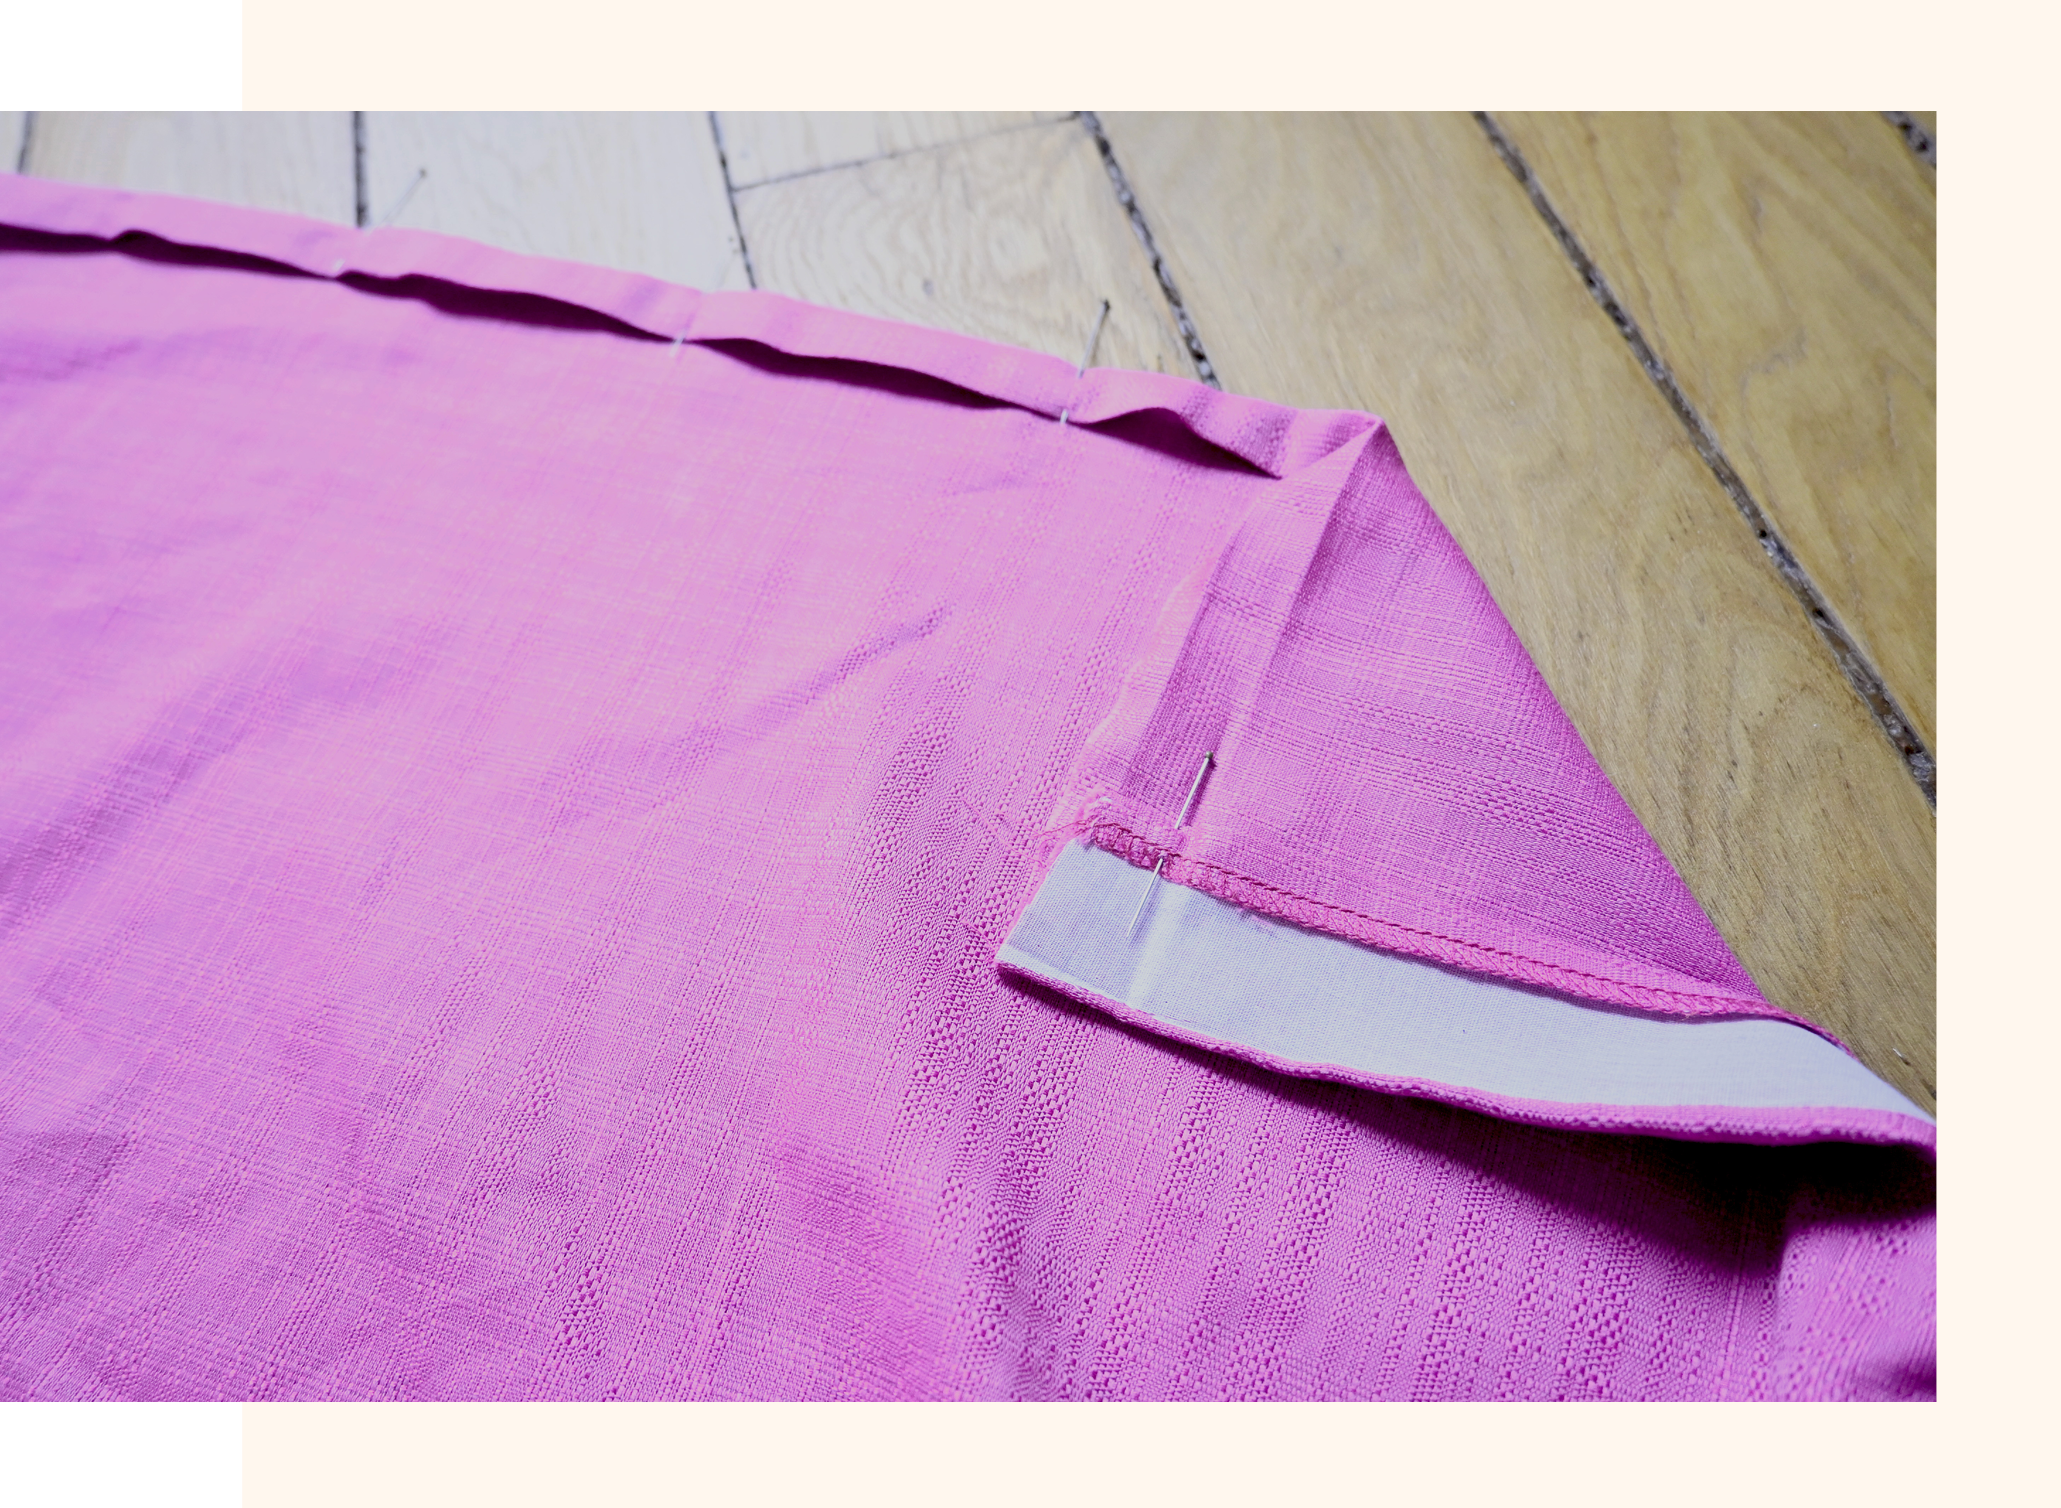
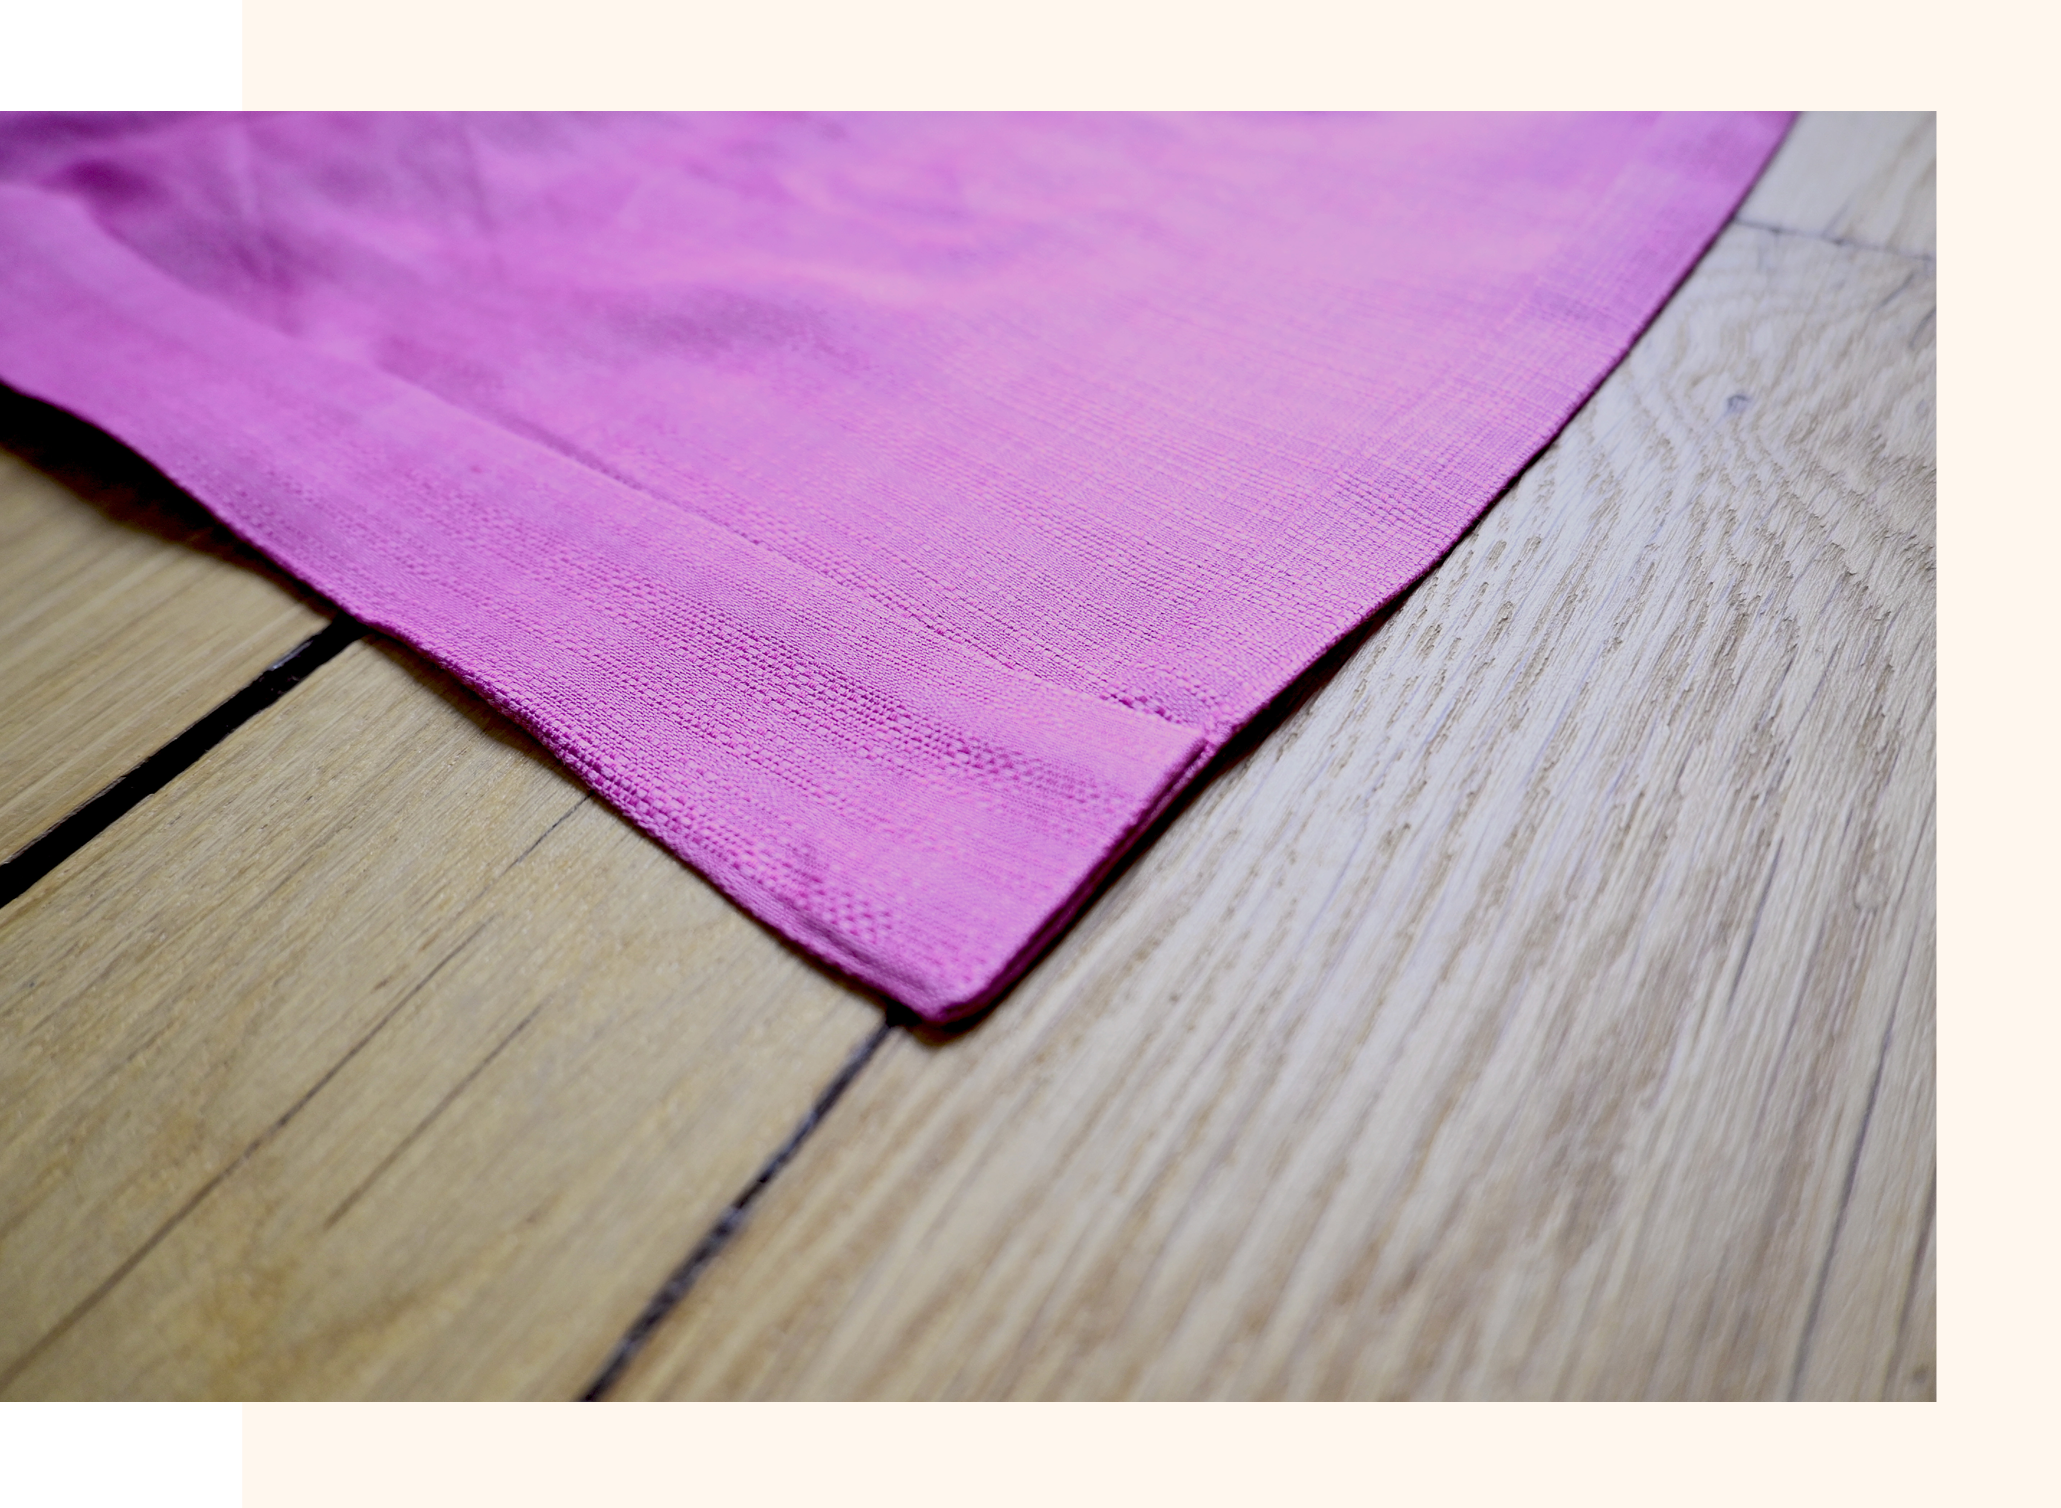
Prepare the hem: along the entire bottom of the two assembled fronts and back, iron a first fold of 1 cm wrong sides together. Then fold and iron again for 1.5 cm.
Pin the hem, stopping about 5 cm before the center front.
The button placket: on each front, iron a first fold of 1 cm wrong sides together.
Then fold and iron again for 3 cm from the O mark to the bottom of the fronts.
Position the bottom of the button placket right sides together on each front, stitch the bottom 2 cm from the edge.
Turn the button plackets over to the wrong side of the fronts and iron them. Pin the button plackets along their entire length and stitch them 2 mm from the folded edge.
Finish the hems: stitch the hems prepared previously, 2 mm from the folded edge.
/ 8 /
Pass
Follow as directed in the booklet.
/ 9 /
Buttonhole & buttons
Follow the instructions in the booklet, but continue for the additional 50cm, maintaining the spacing indicated on the pattern.
You need 6 buttons for the blouse version. Allow 10 buttons for the dress version.
WELL DONE! This is a unique dress, with incredible volume and powerful character!
Now the question is not when I wear it but how! With or without a belt today?
Can't wait to see your versions ☺
Marie
WANT TO HACK MORE PATTERNS ?

GIFT
The knotted belt pattern to sew on the Atelier Brunette Skirt is available to download for free on our blog.
Dress up your skirt this summer with this step-by-step guide written especially for you by Charlène last June.


